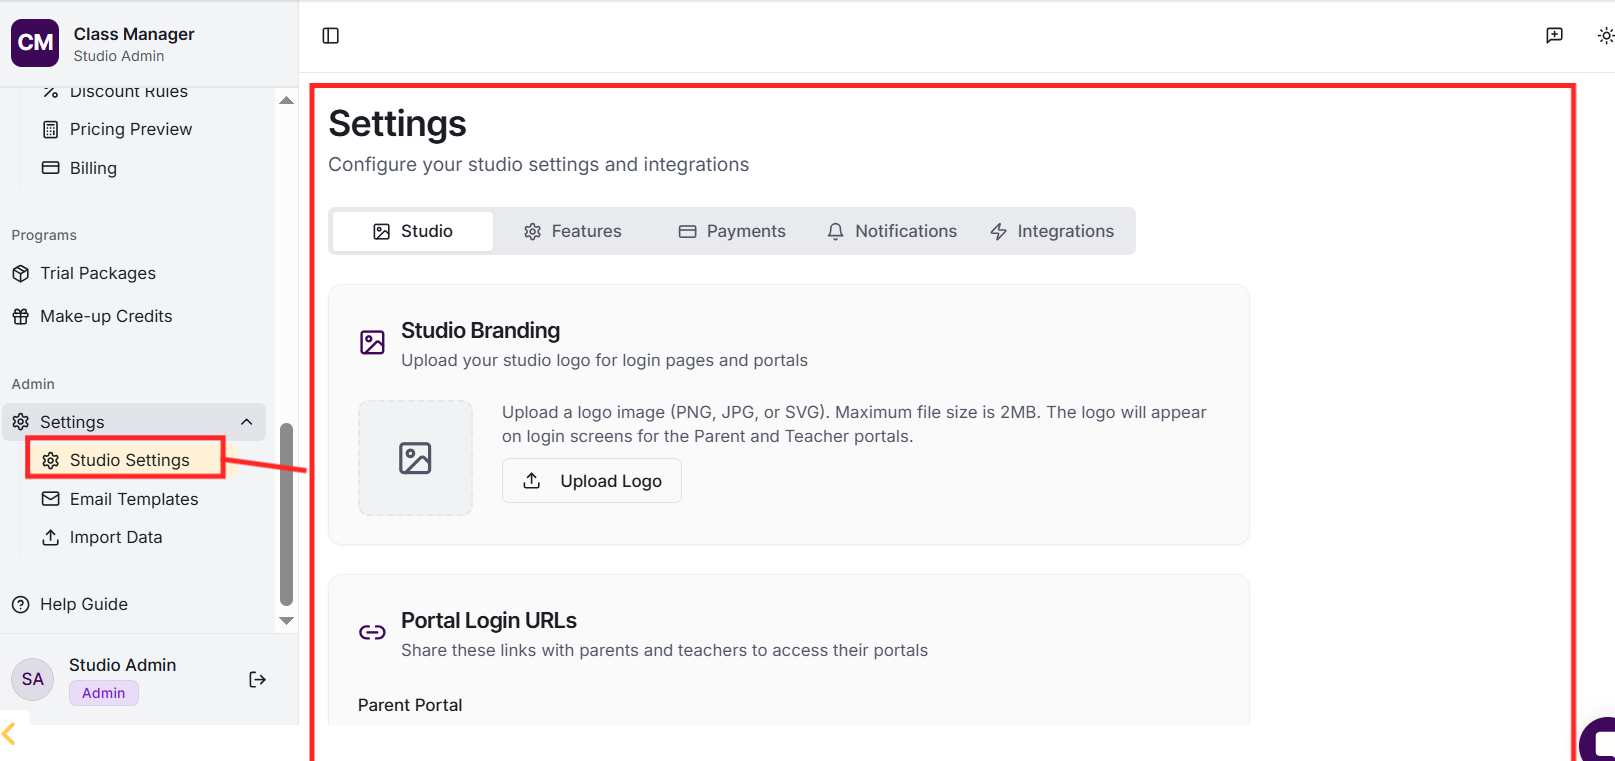
Your studio was created when you first accessed Class Manager. To configure your studio settings, go to Settings in the sidebar. Here you can update your studio name, configure My Studio Manager (MSM) integration settings, set up payment processing (Stripe or Worldpay), and customise parent portal features.
Class Manager uses a secure two-stage authentication: First, our login uses your studio's Location ID and PIN to access your studio from inside My Studio Manager. Teachers have a separate PIN for teacher portal access.
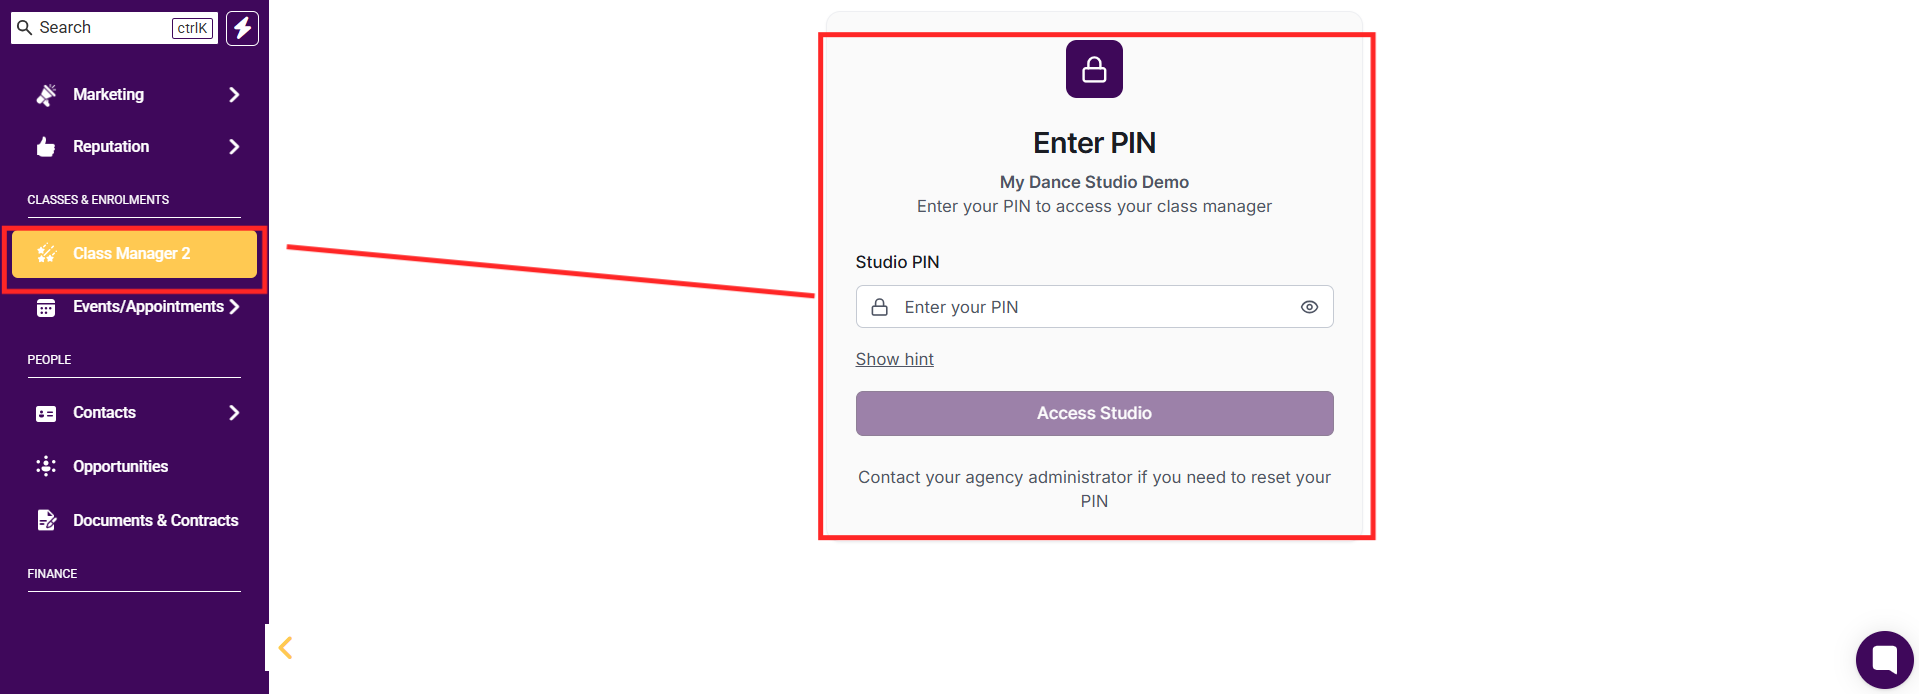
There are four main Portals:
Admin Portal (full access to all studio features including settings, pricing, and user management),
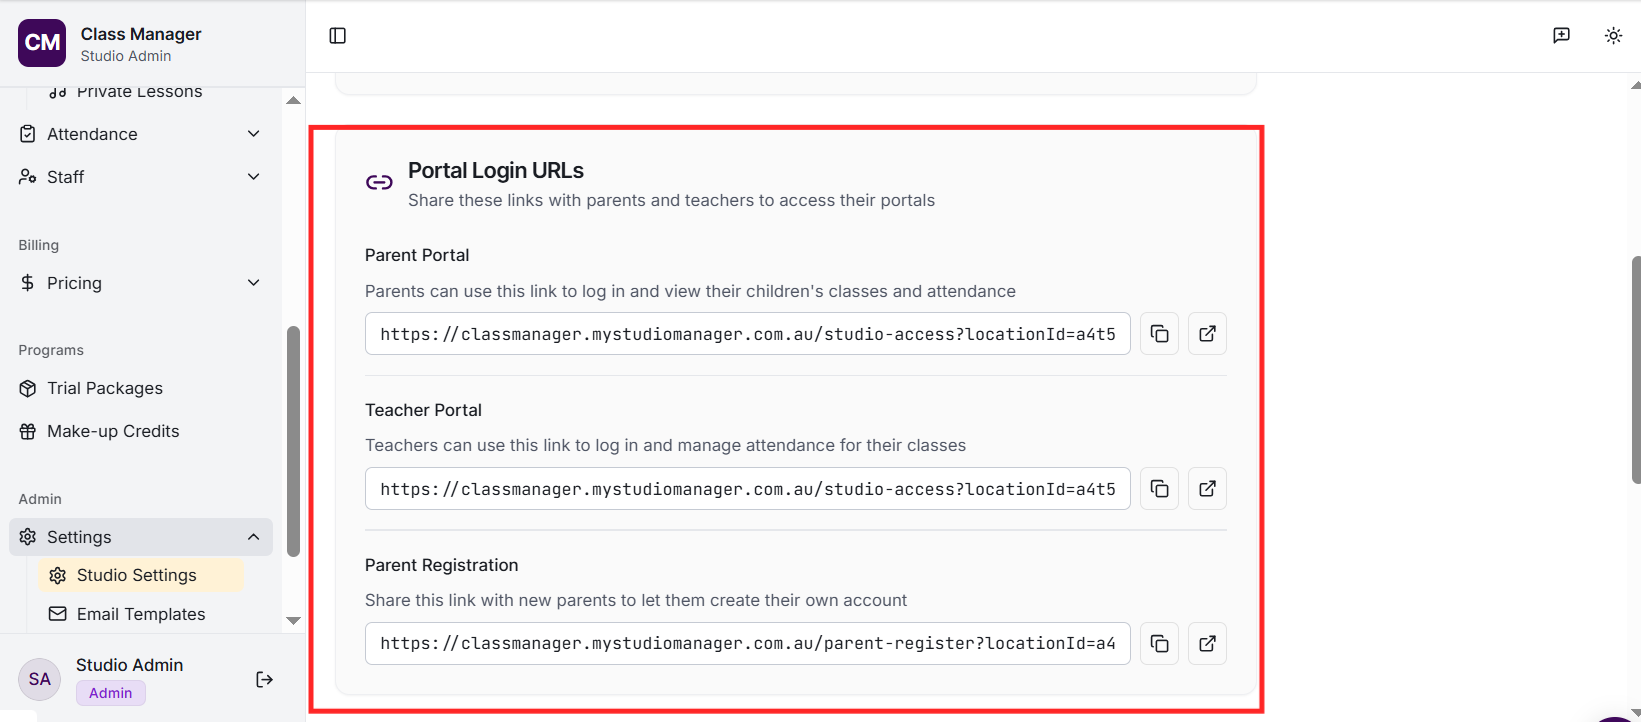
Teacher Portal (can view their classes and mark attendance via the teacher portal),
Parent Portal (can view their children's timetables, manage enrolments, view billing, and request trials), and
Student Portal - Coming Soon.
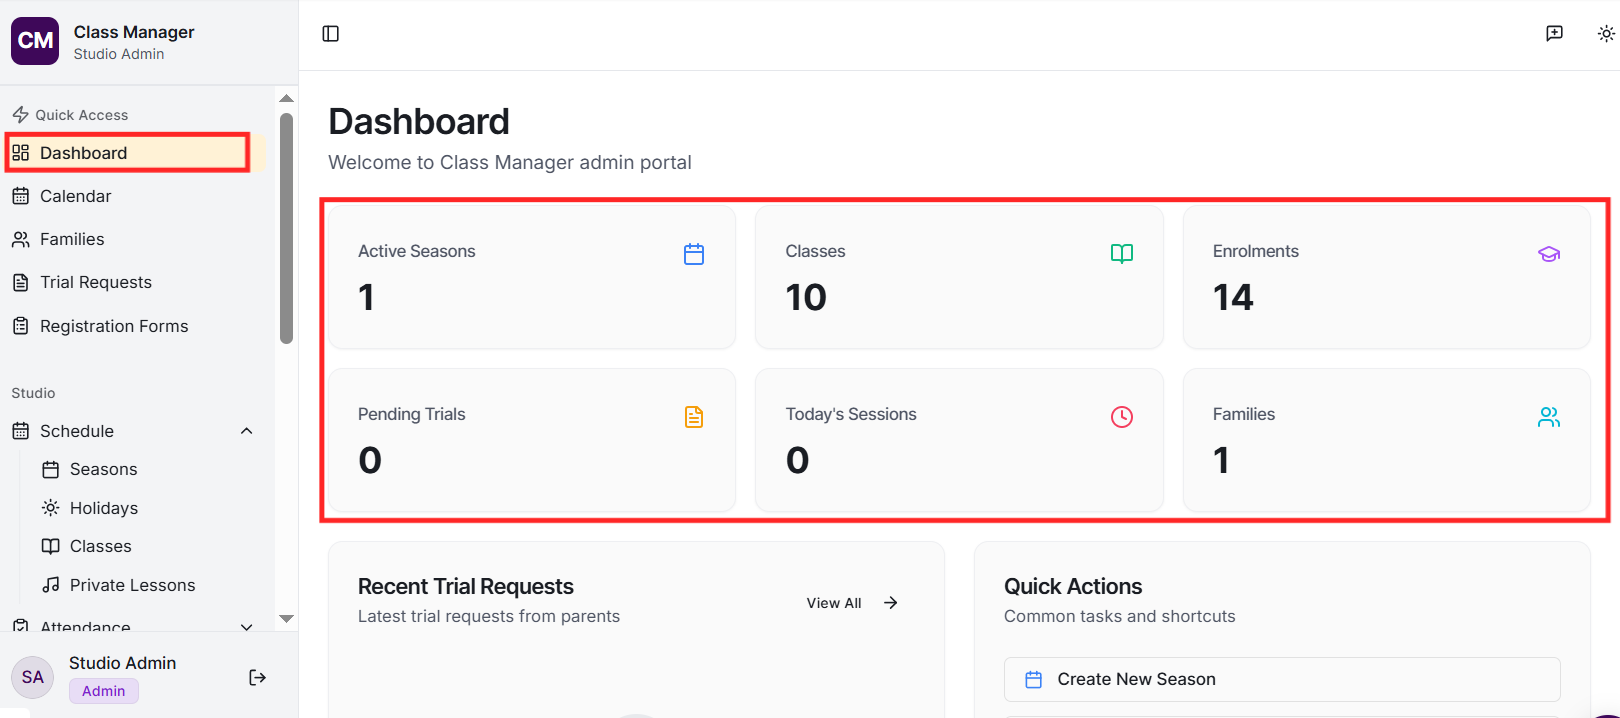
The admin portal has a sidebar navigation with sections for:
Dashboard (overview),
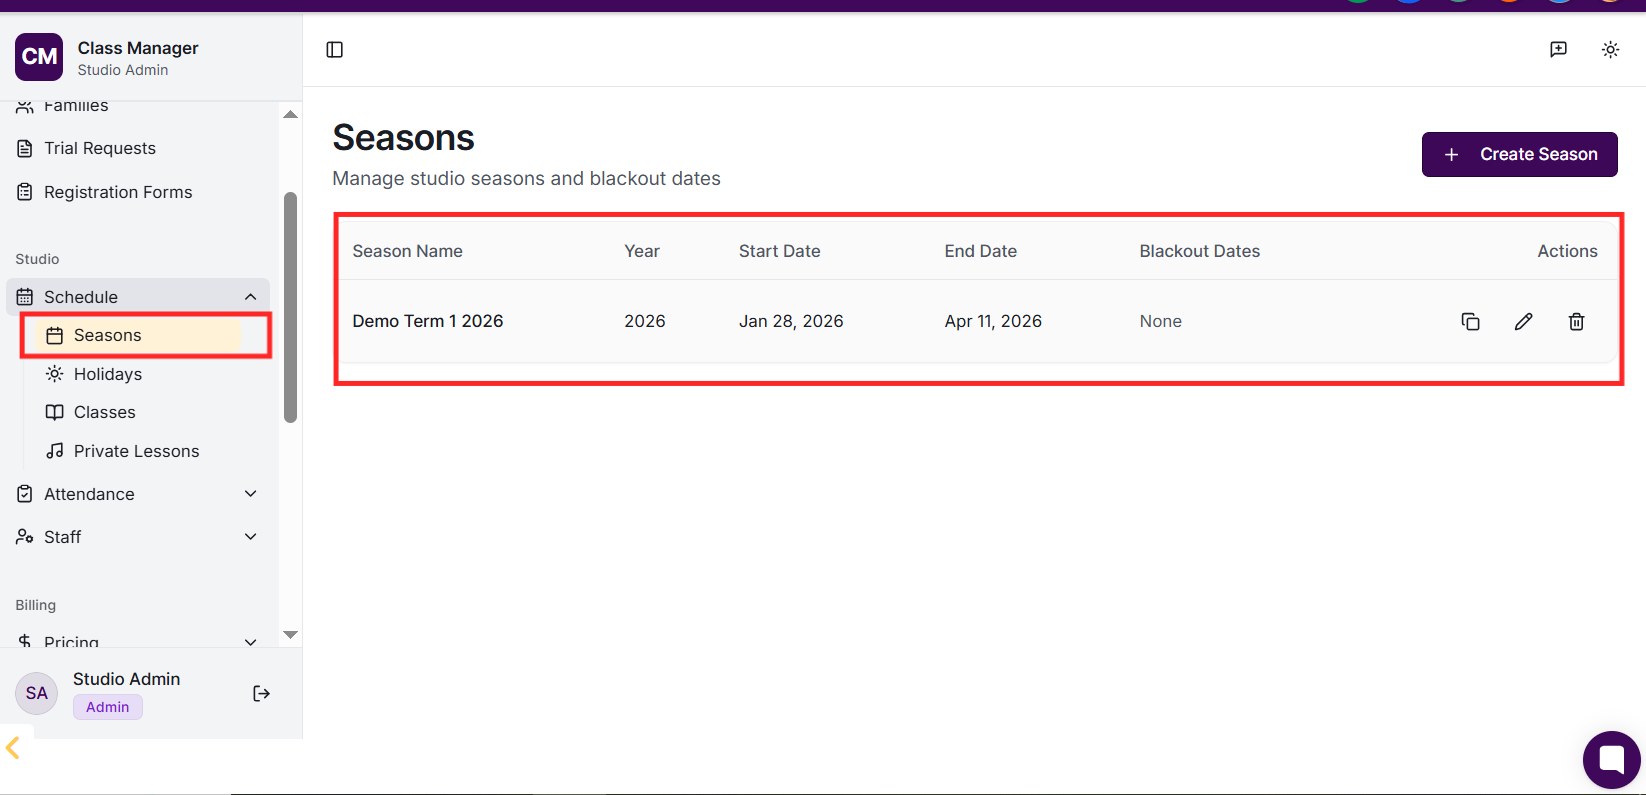
Seasons,
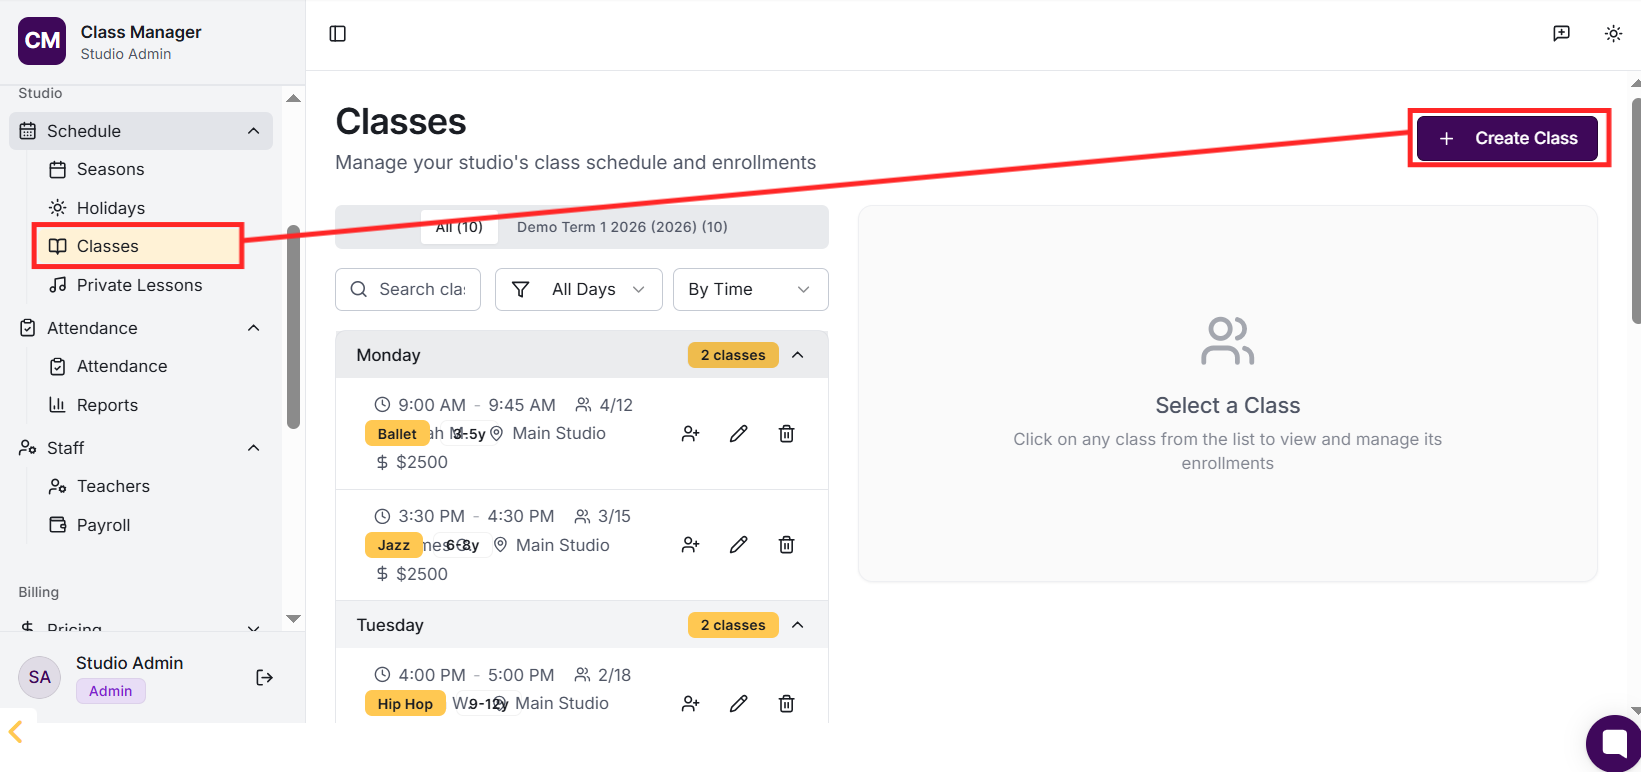
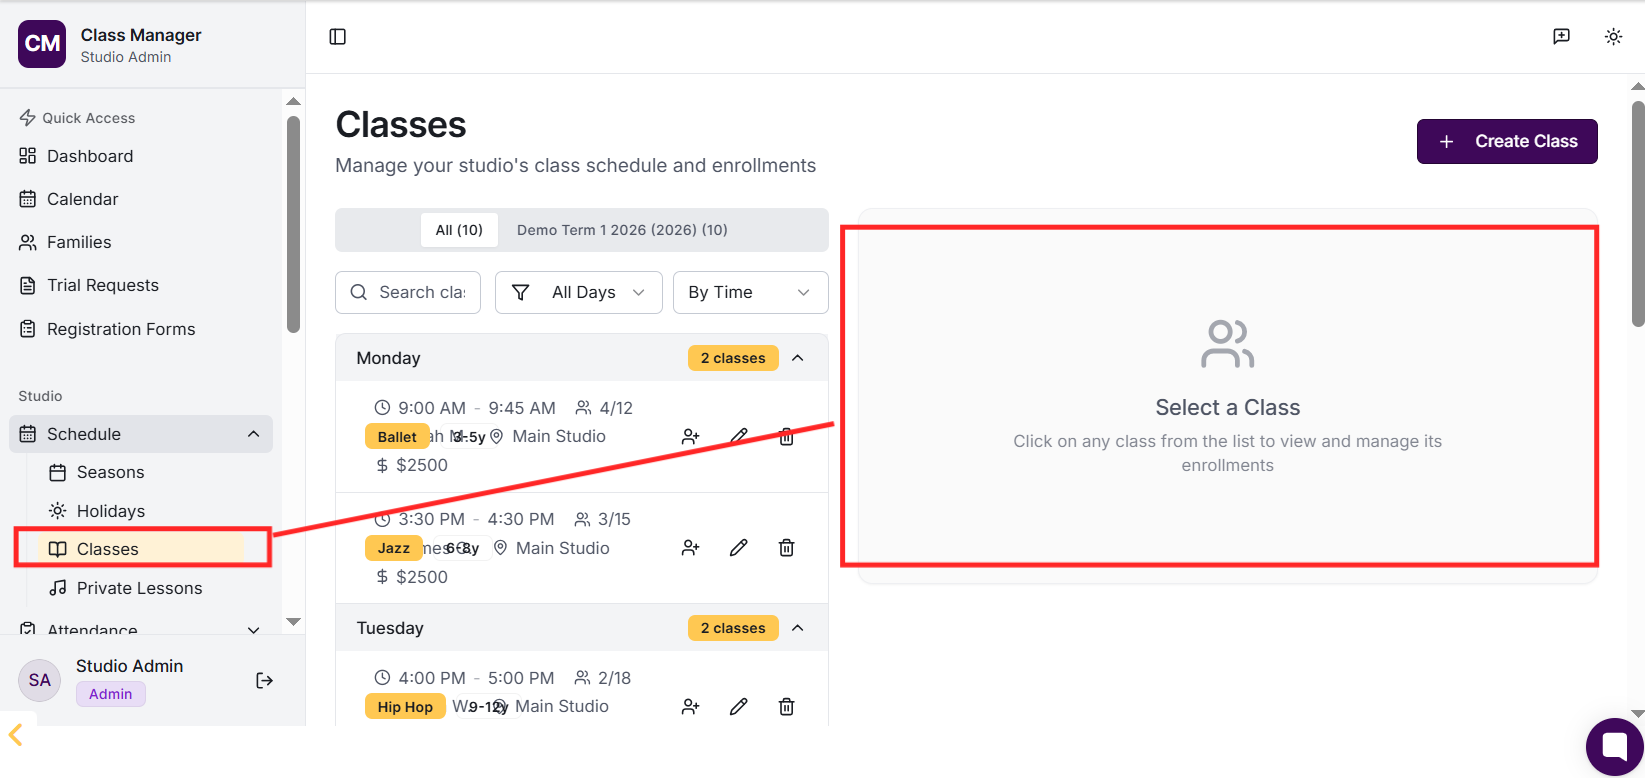
Classes,
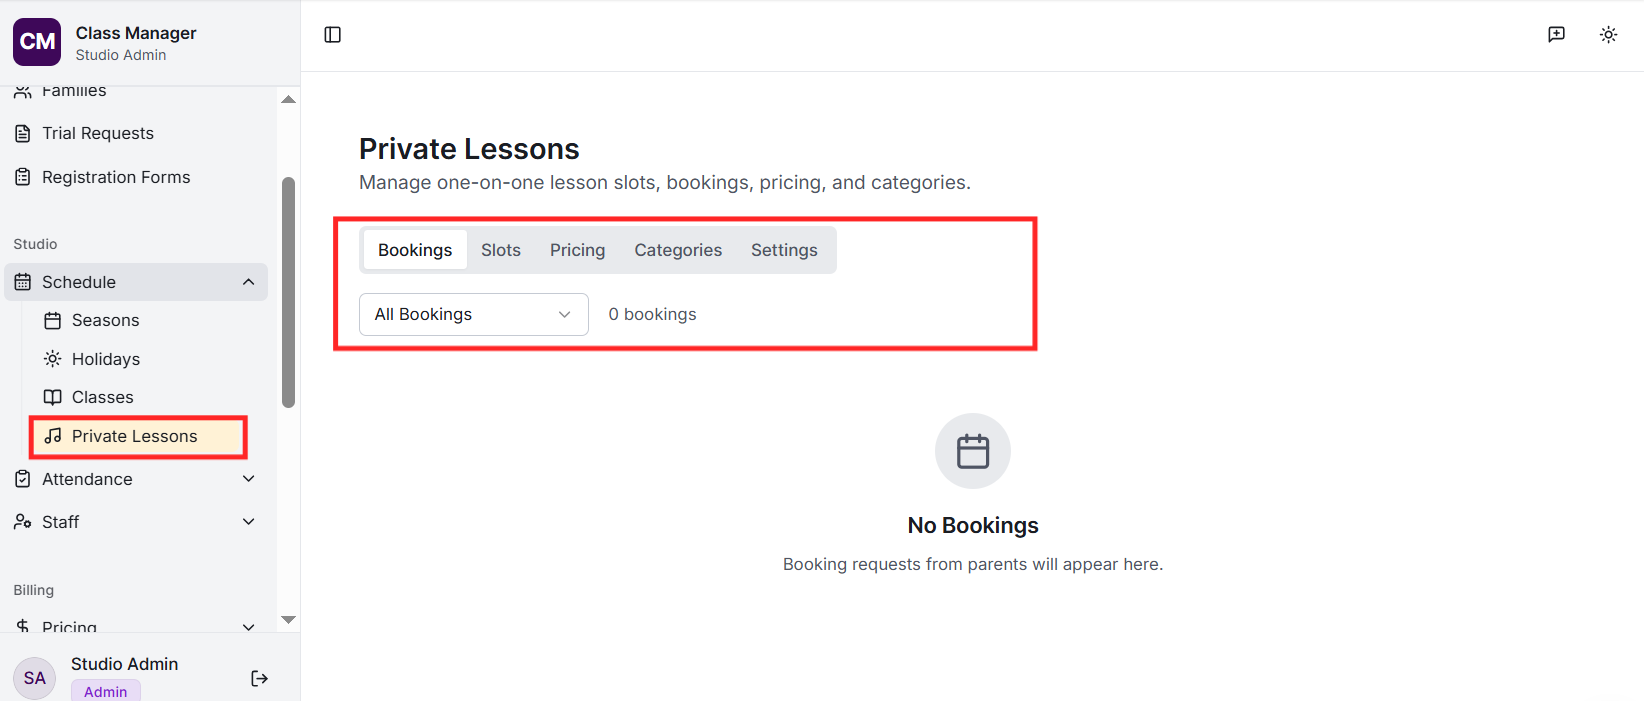
Private Lessons,
Enrolments,
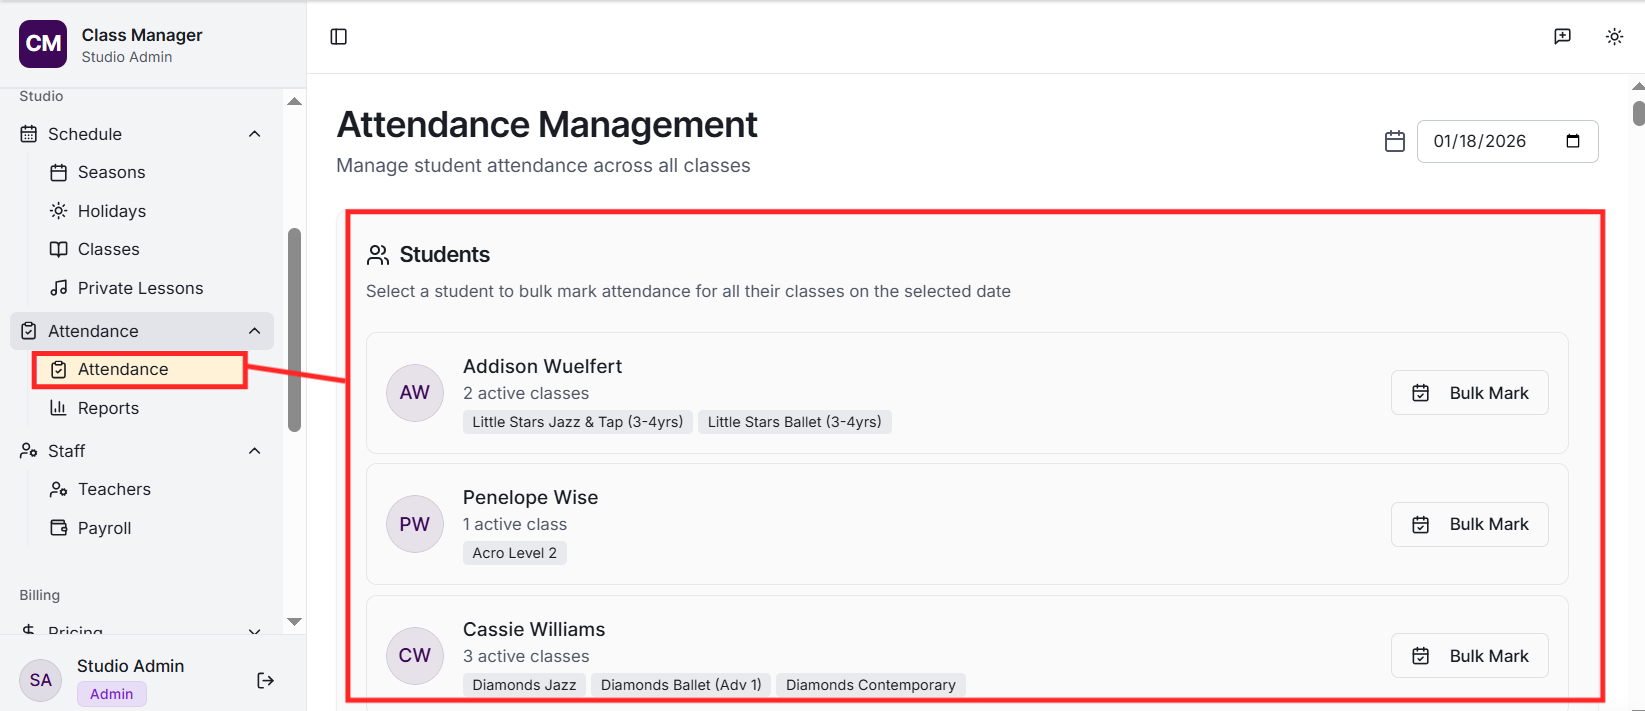
Attendance,
Families,

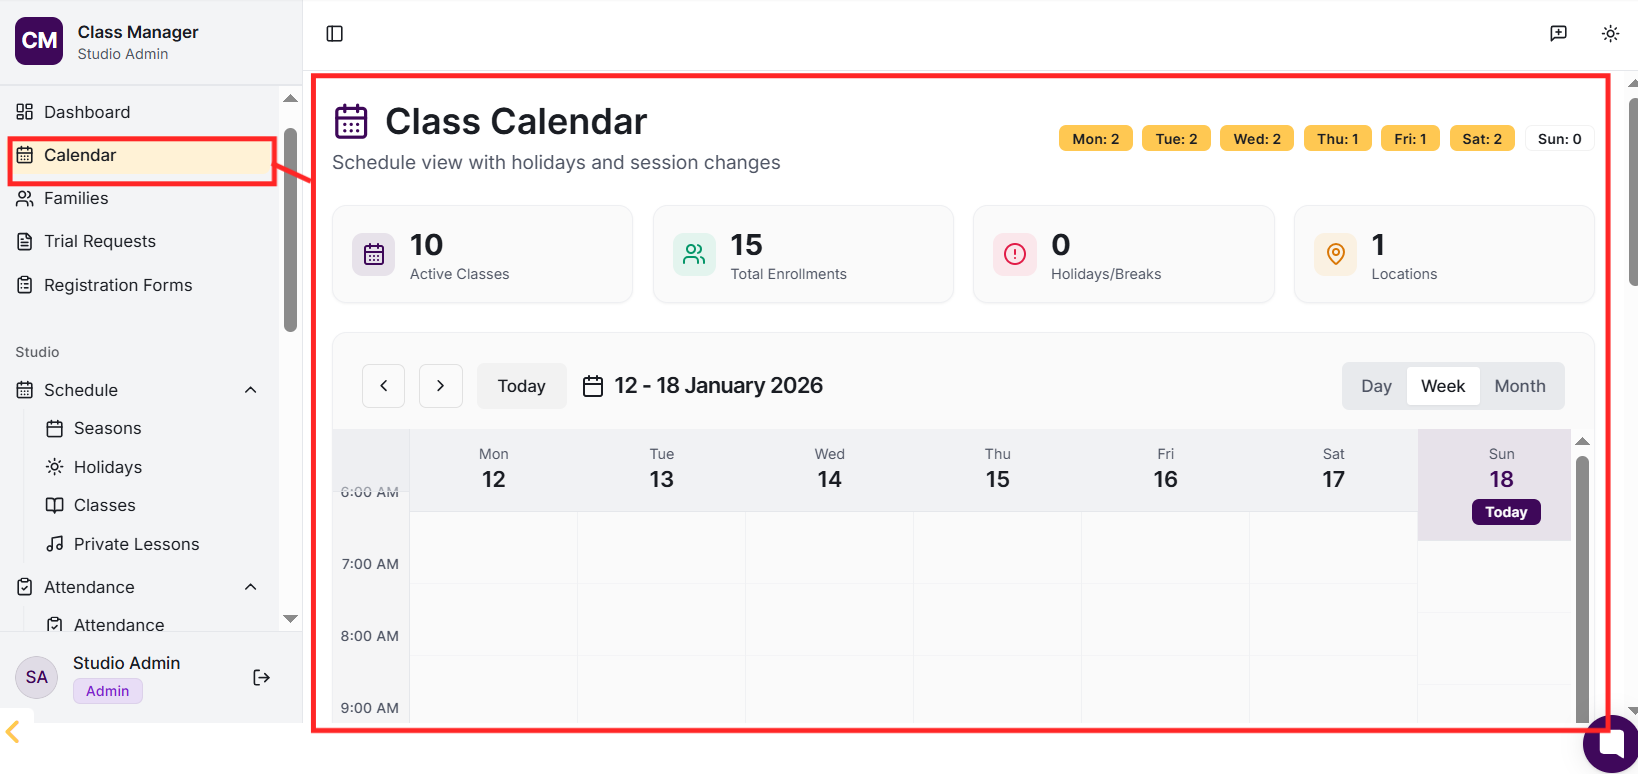
Calendar,
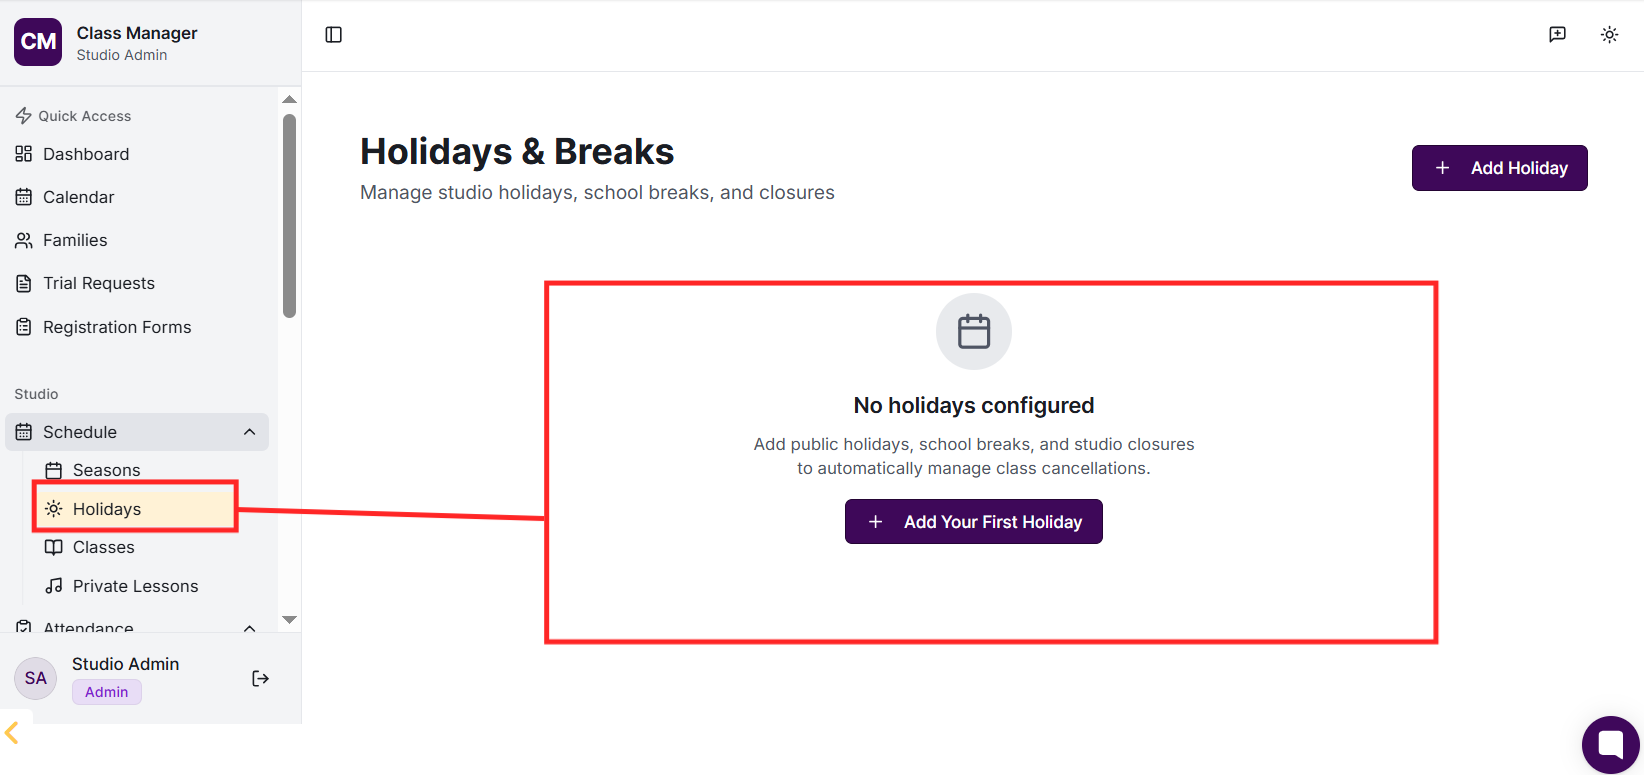
Holidays,
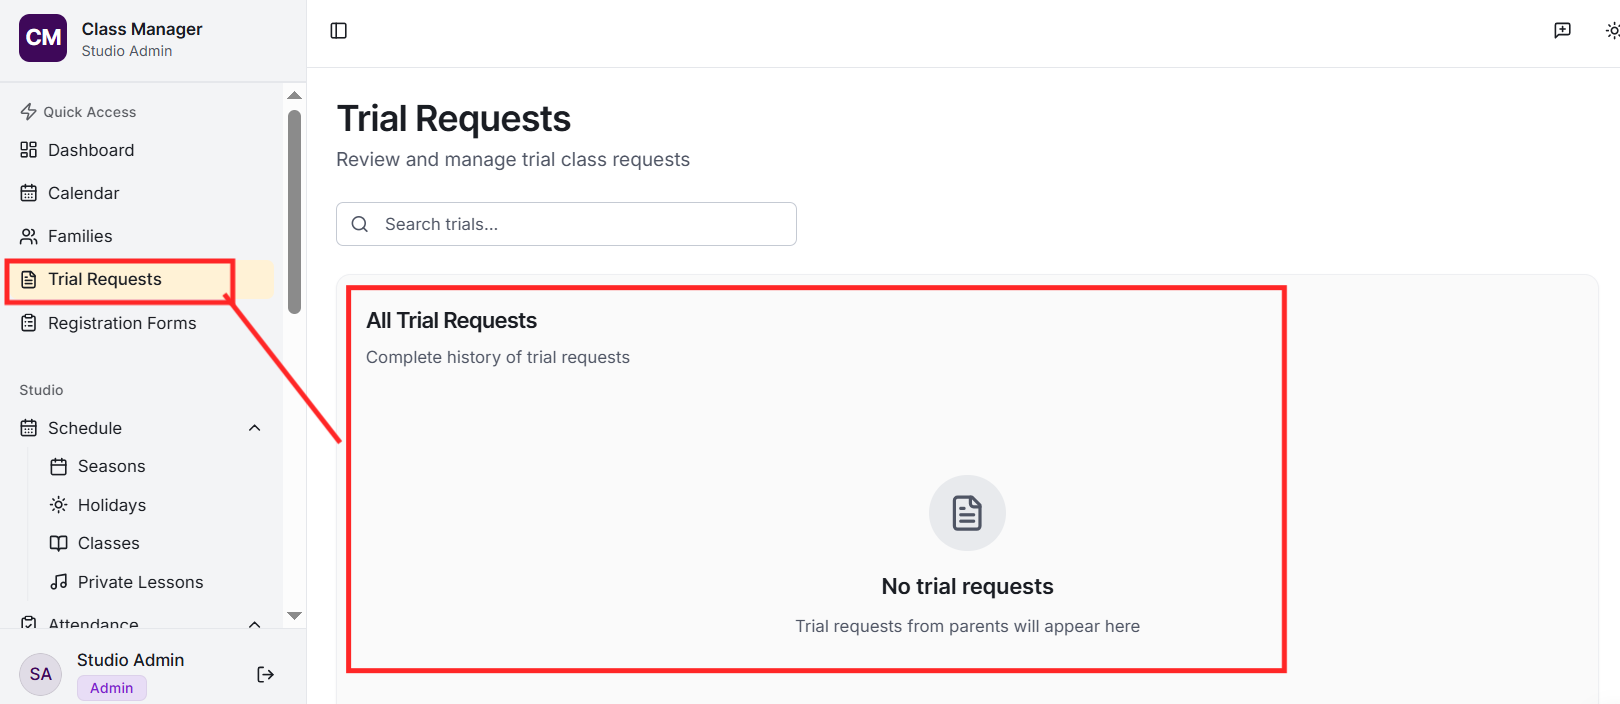
Trials,
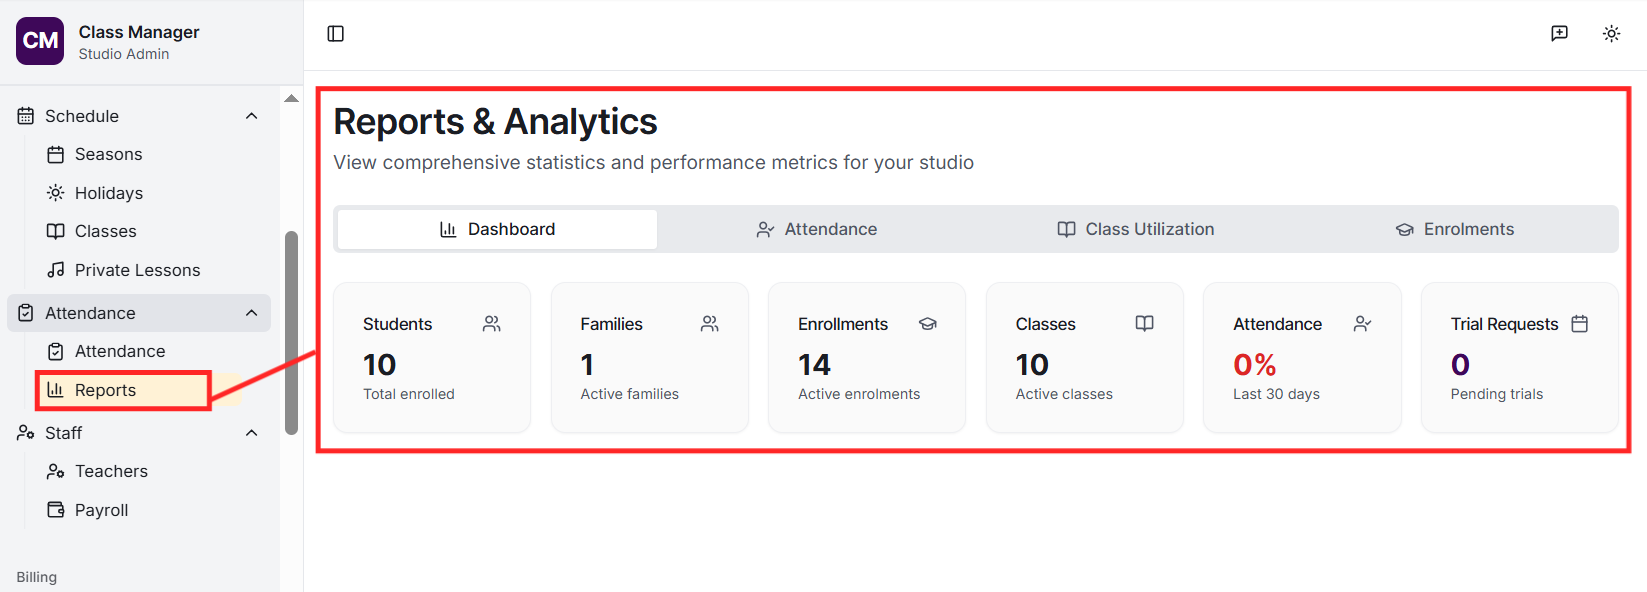
Reports,
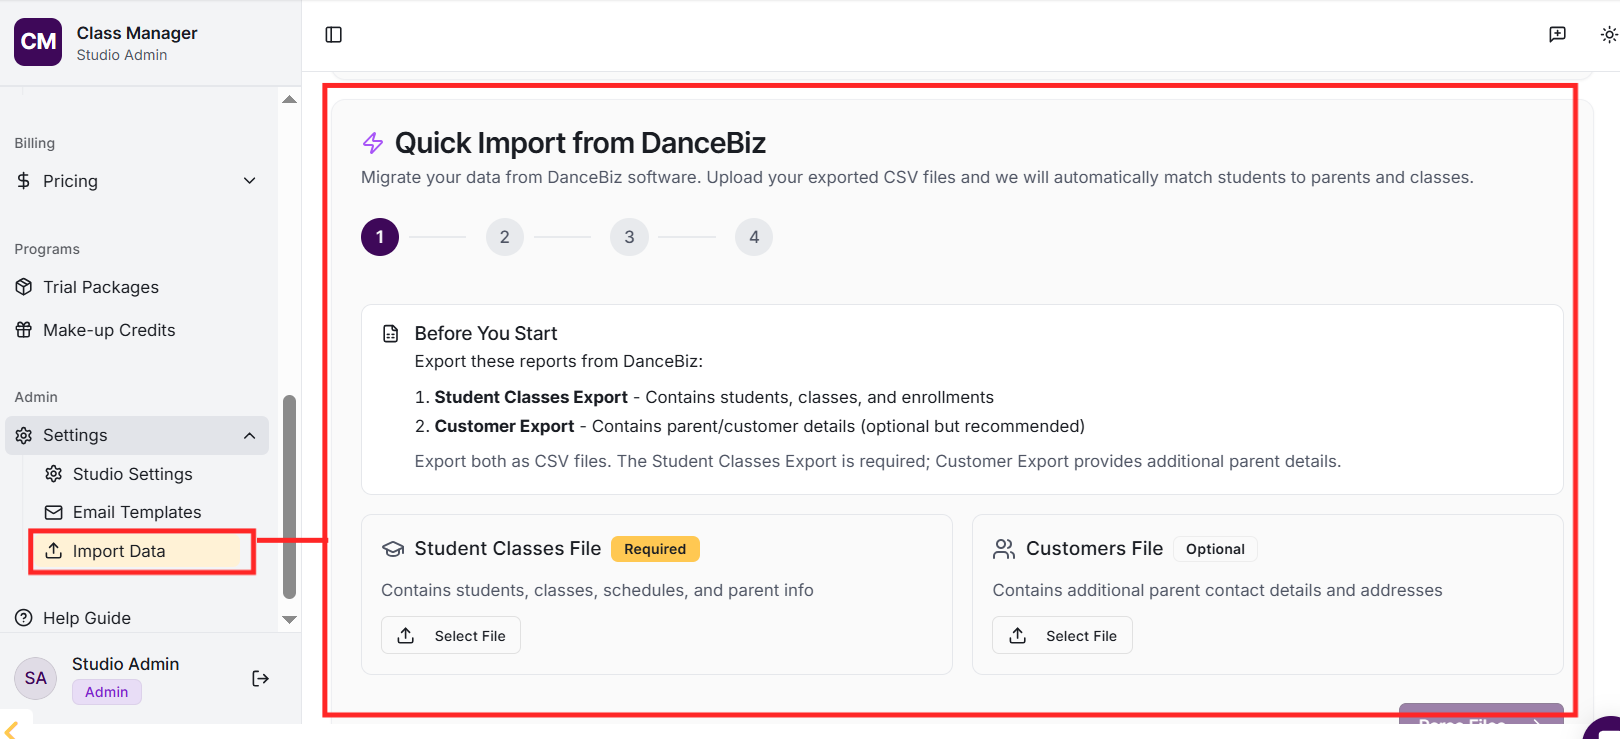
Import,
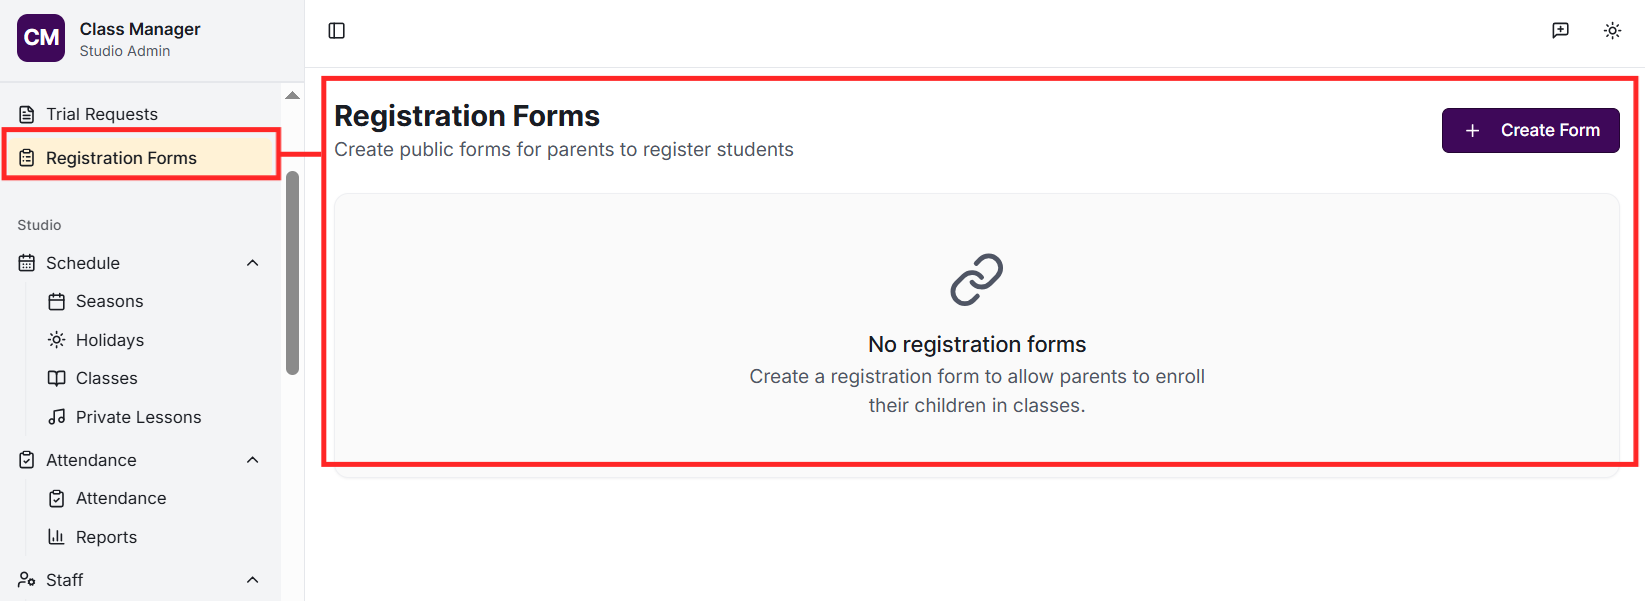
Registration Forms,
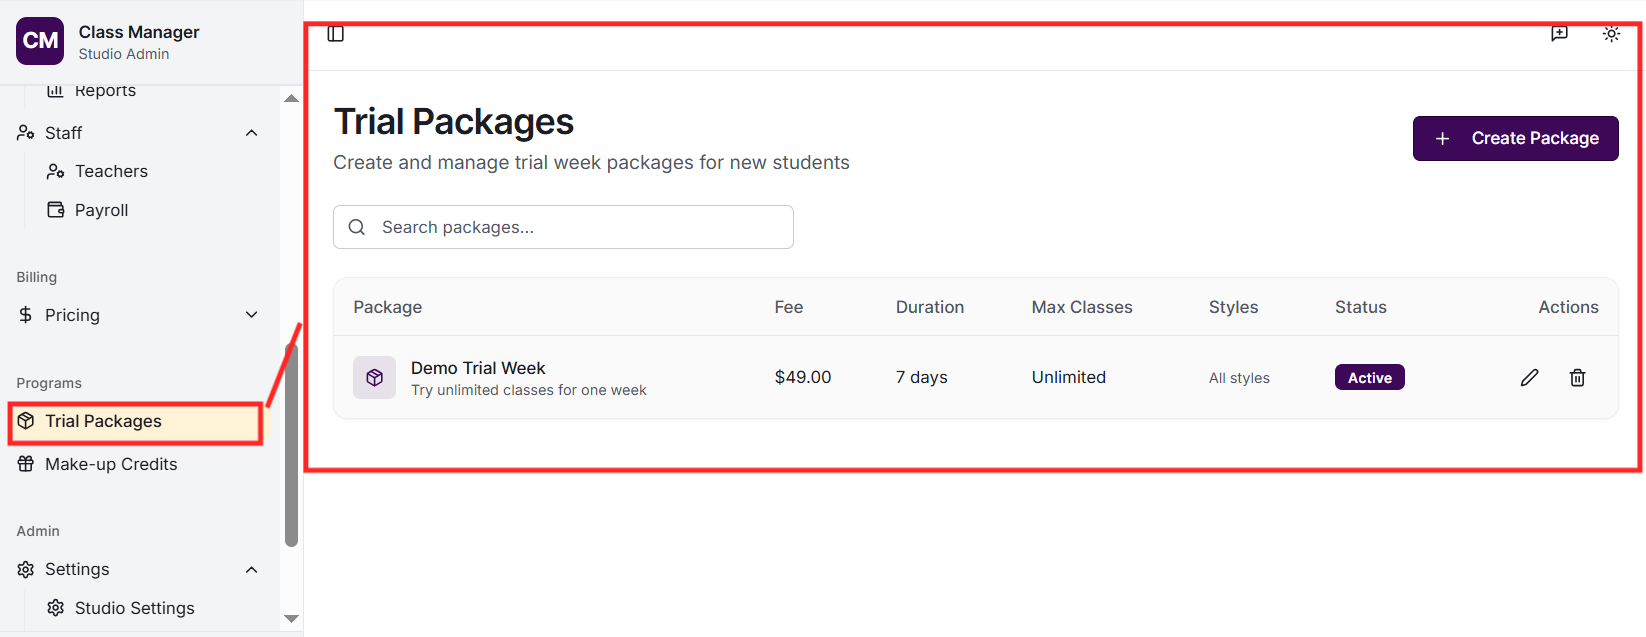
Trial Packages,
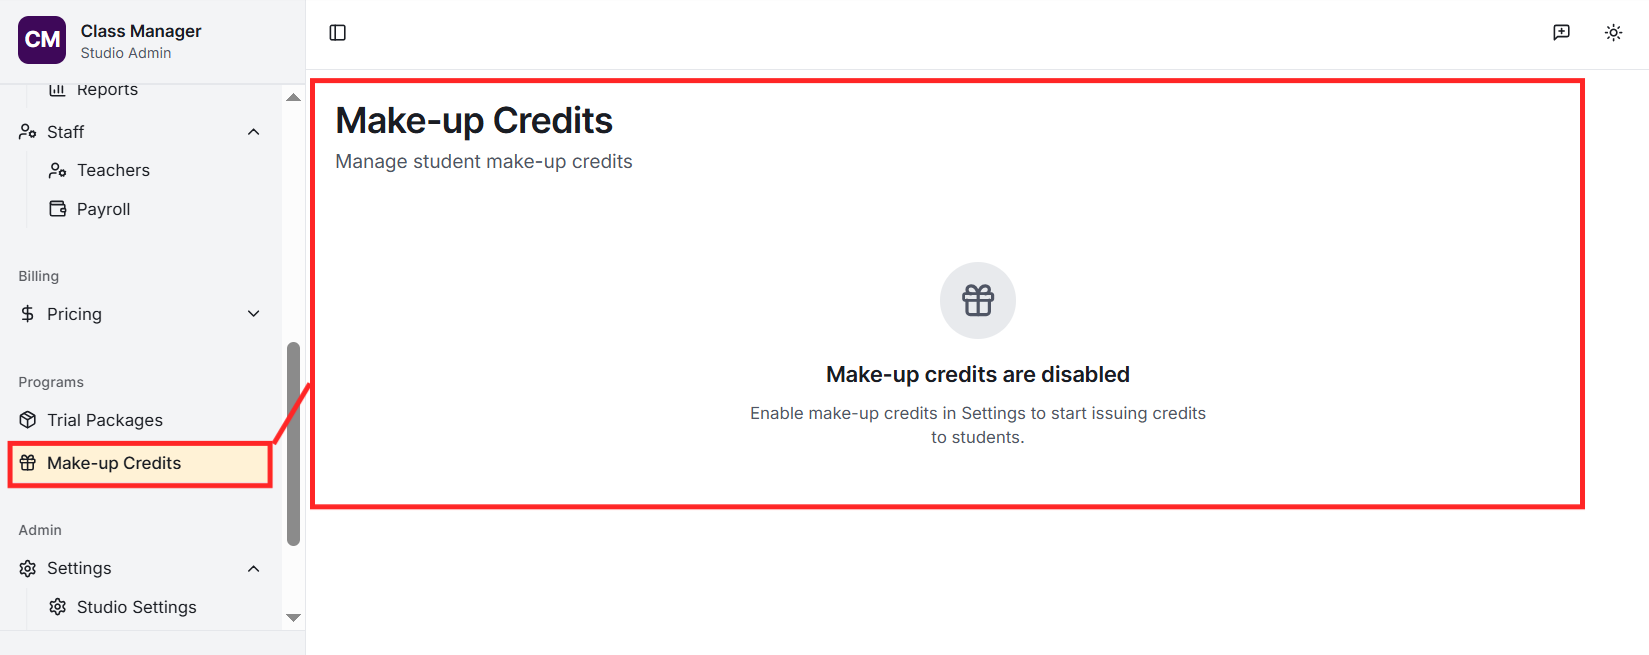
Make-up Credits,
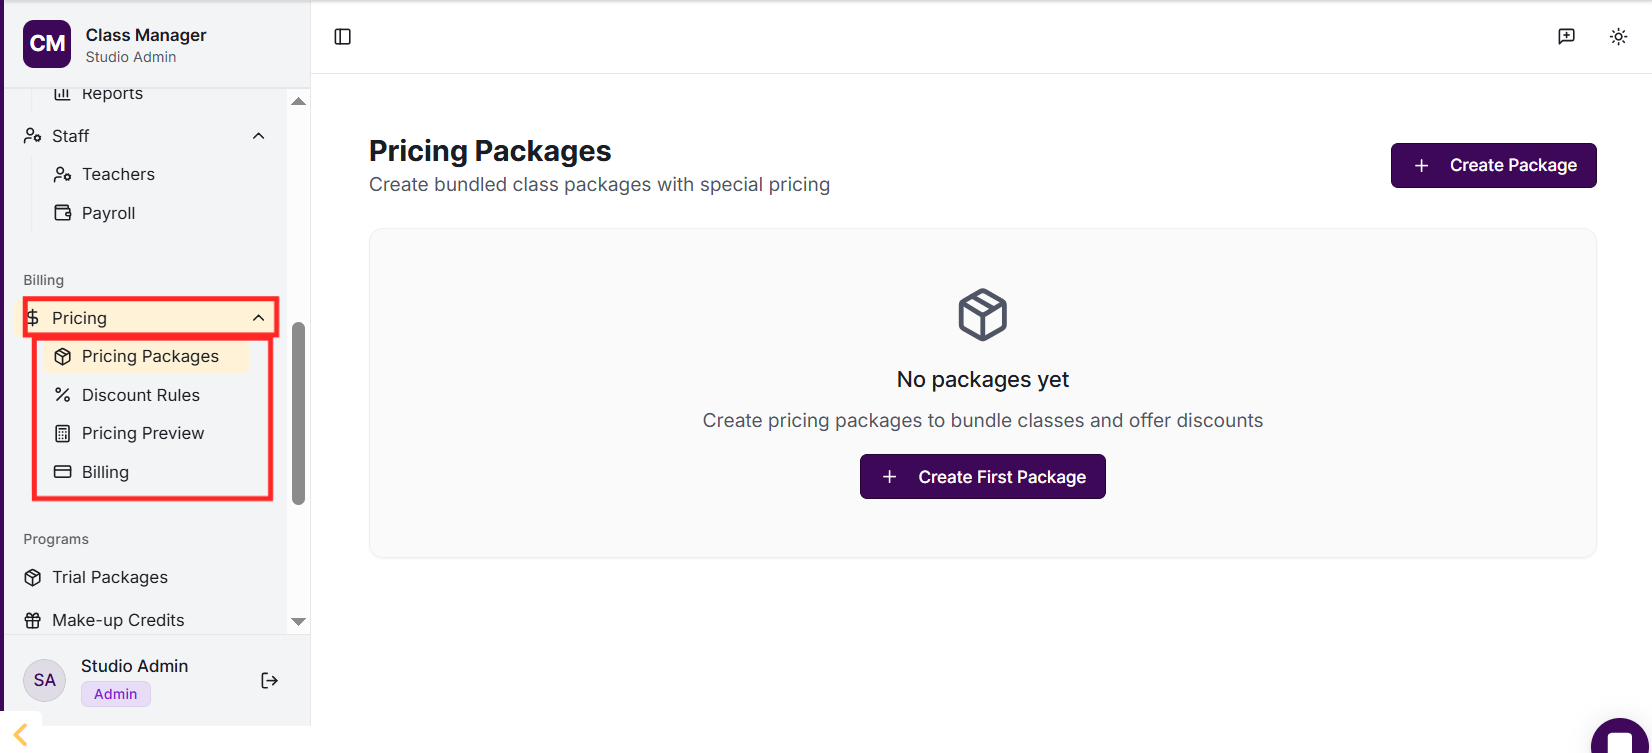
Pricing (Packages, Discount Rules, Preview),
Settings,
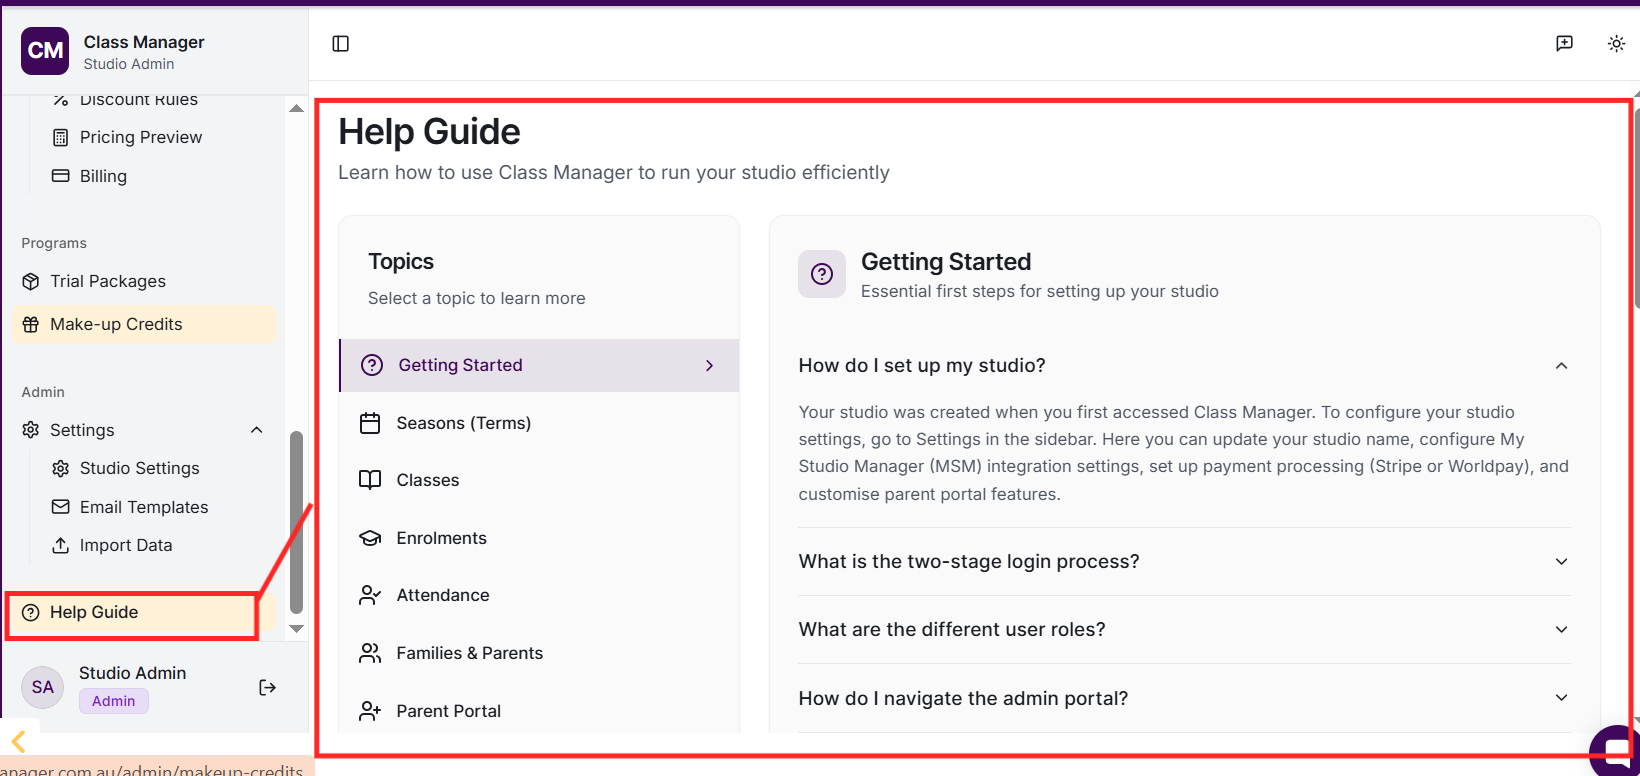
and Help.
We recommend this order:
1) Configure your studio settings including payment processing,
2) Create at least one Season (term),
3) Add your teachers,
4) Create your classes with schedules and pricing,
5) Set up pricing packages and discounts if needed,
6) Import or create families and students,
7) Create enrolments.
You can also use demo data to explore features first.
