The Image Slider in the Email Builder provides a sleek and interactive way to showcase multiple images within a single, compact slider. This article will guide you through the process of adding and customizing the Image Slider and optimizing your email content for better engagement.
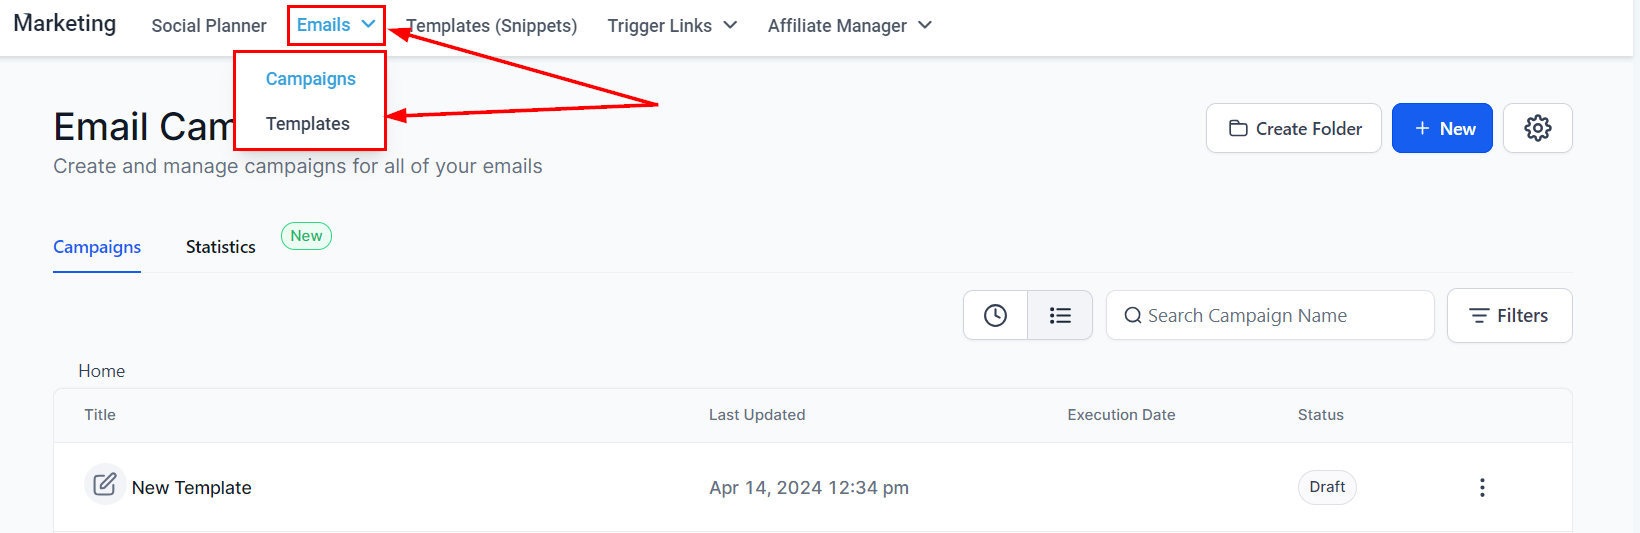
Go to Marketing -> Emails, then access the Campaigns or Templates section.
Open any existing campaign or template.

Drag and drop the Image Slider element into your email.
Add or remove images using the edit menu on the left.
Add links to images as required.

Modify the visuals of arrows, thumbnails, and other elements in the edit menu.

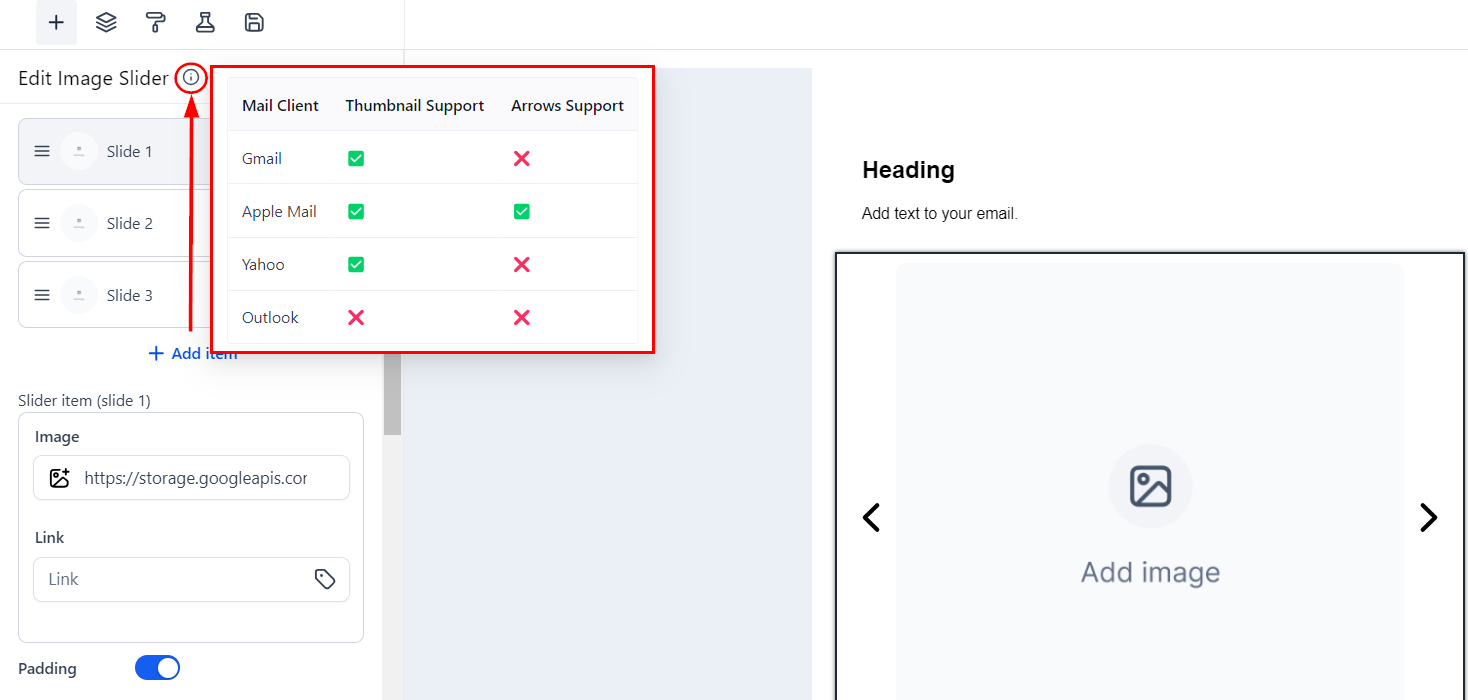
Review the visibility specifics of components like thumbnails and arrow support across various email clients in the information section to make well-informed design decisions.
Q: What is the Image Slider?
The Image Slider is a dynamic element that allows you to display multiple images in a carousel format within your email.
Q: How can I customize the Image Slider?
You can customize the Image Slider by editing the visuals of arrows, thumbnails, and other elements through the edit menu displayed when the element is selected.
Q: Are there any limitations on image visibility?
Yes, the visibility of certain components like thumbnails and arrows may vary across different email clients. Refer to the information section for detailed specifics.
Images Not Displaying Properly
Ensure that the image files are properly uploaded and are in supported formats.
Check the compatibility of the email client with the Image Slider feature.
Slider Not Functioning Correctly
Verify the customization settings and ensure no conflicting elements are present.
Test the email in multiple clients to confirm functionality.
