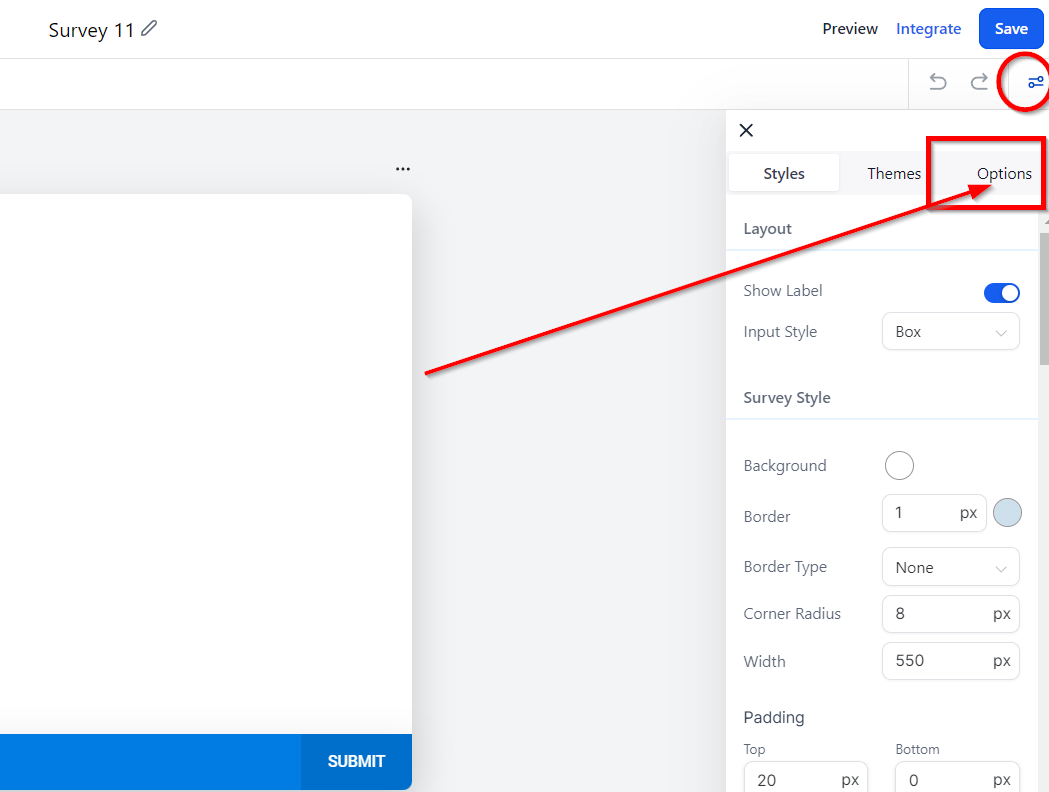
Use the options tab to set some very important settings.
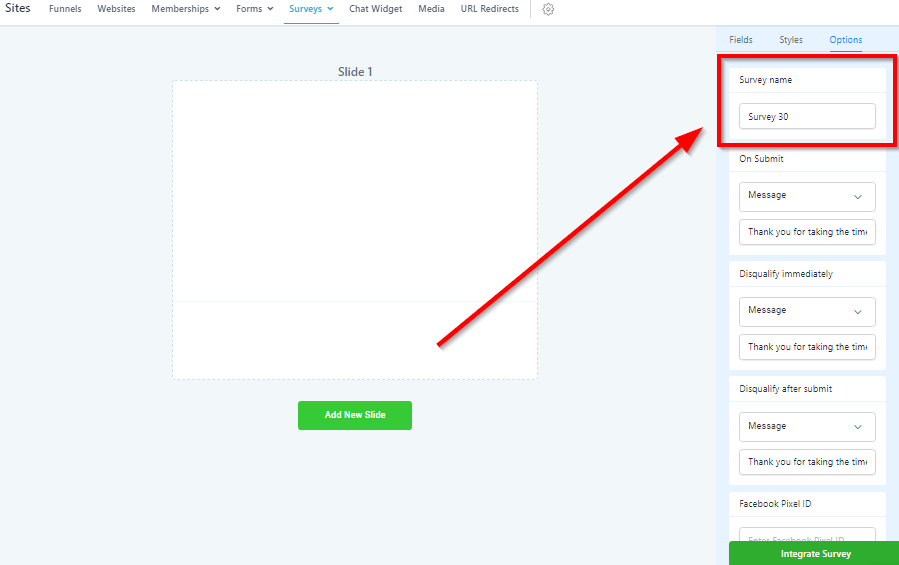
As we showed you earlier, you can change the name of your survey here.
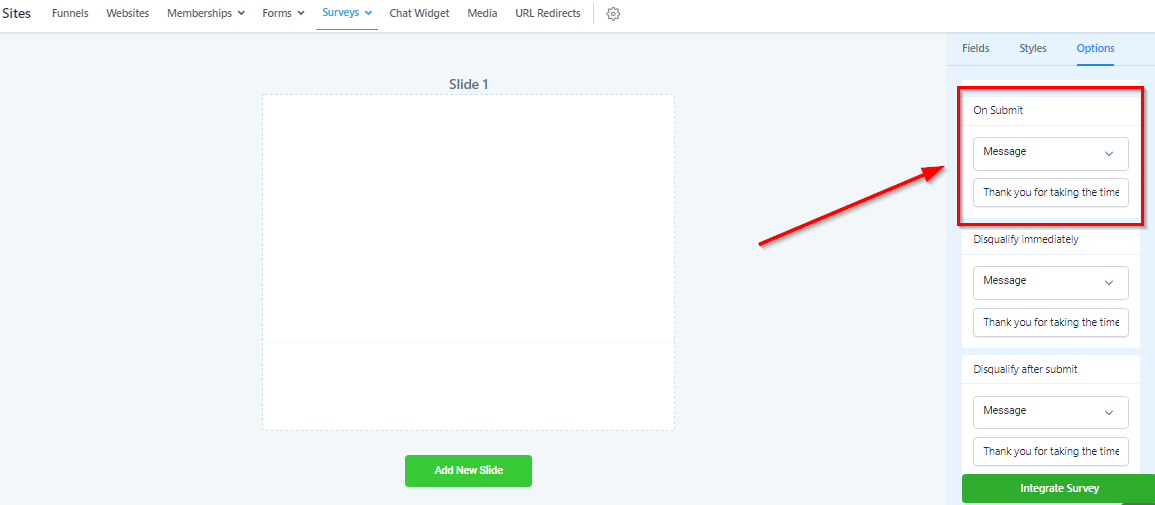
Here you will set what happens when your survey is submitted.
Open URL: If you choose this option, when your survey is submitted, the visitor will be sent to the URL of your choice. We generally send them to a "Thank You" page of some sort.
Message: If you choose this option, your visitor will see a message after submitting the survey and remain on the same page. You will need to add a message in the input section for this to take effect.
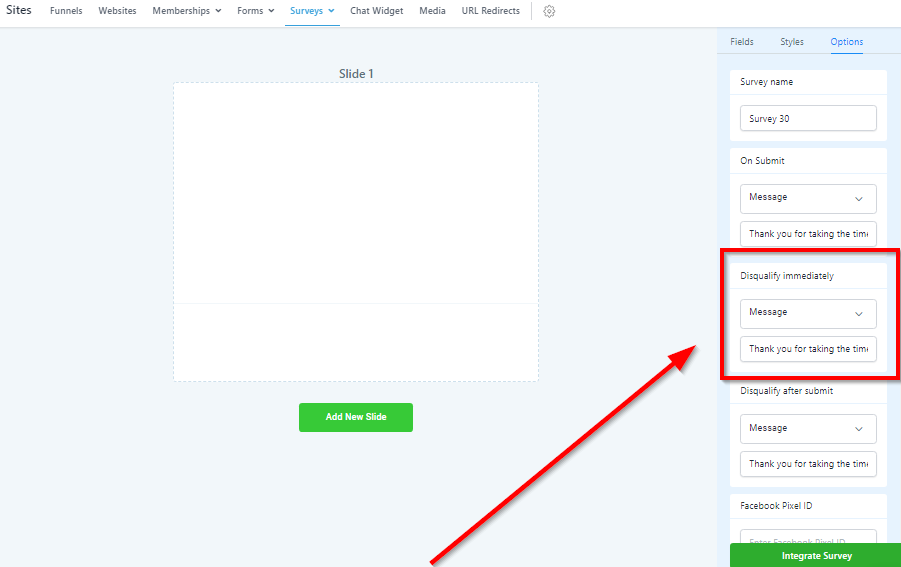
When building your survey, you have the option to "Disqualify Immediately" when a visitor chooses a specific answer. This is very valuable when qualifying leads.
You can choose what happens to that visitor when they are immediately disqualified. You have 2 options:
Open URL: The visitor will be sent to the URL of your choice.
Message: Your visitor will see a message after being disqualified, and remain on the same page. You will need to add a message in the input section for this to take effect.
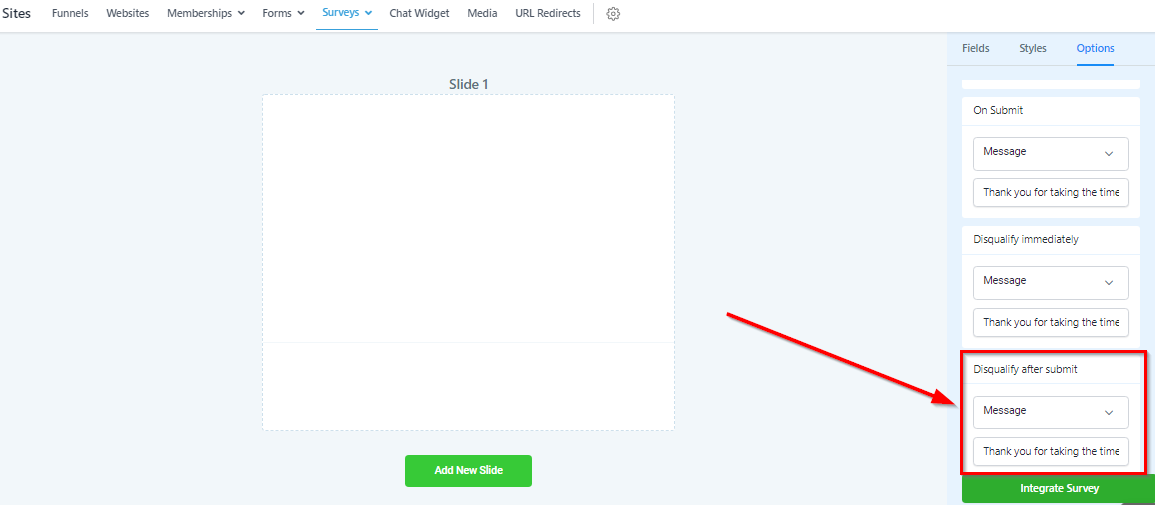
You also have the option to "Disqualify After Submit" when a visitor chooses a specific answer. This will allow the visitor to finish the entire form but be disqualified at the end.
You can choose what happens to that visitor when they are immediately disqualified.
You have 2 options:
Open URL: The visitor will be sent to the URL of your choice.
Message: Your visitor will see a message after being disqualified, and remain on the same page. You will need to add a message in the input section for this to take effect.
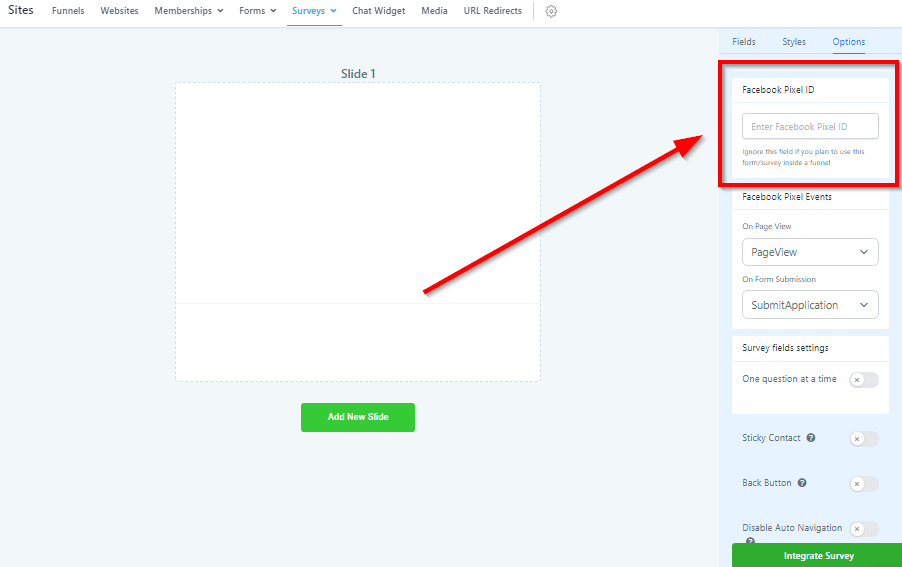
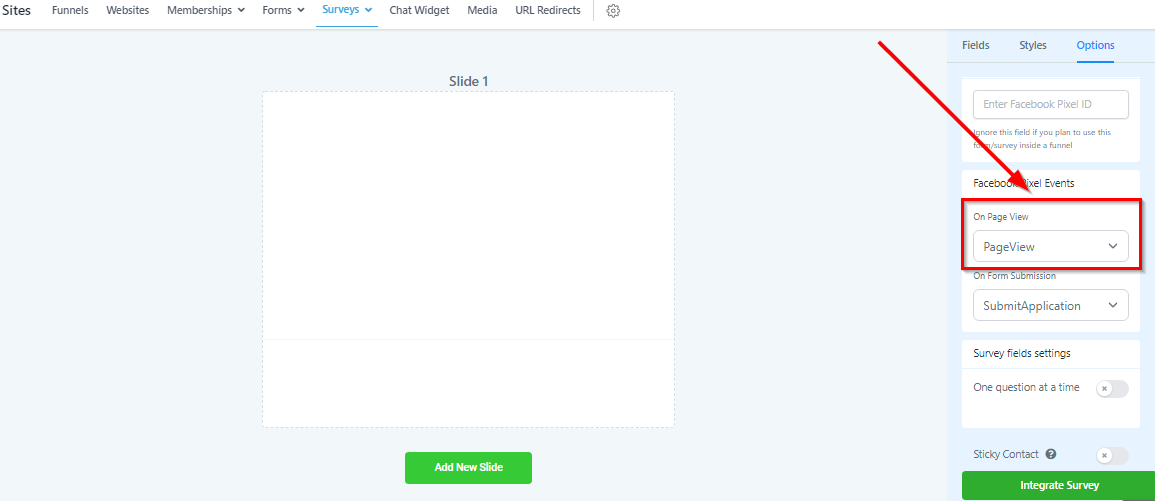
Track form submissions and use your Facebook Pixel for analytics and advertising.
Ignore this field if you plan to use this survey inside a funnel.
Specify Facebook Pixel event settings for tracking and attribution.
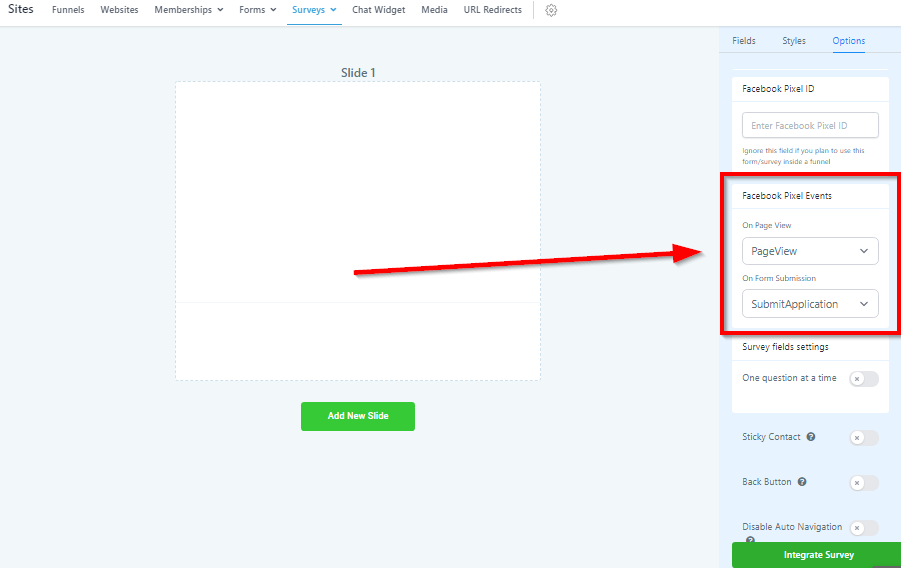
Choose what events will fire when a visitor lands on the page in which your survey is embedded.
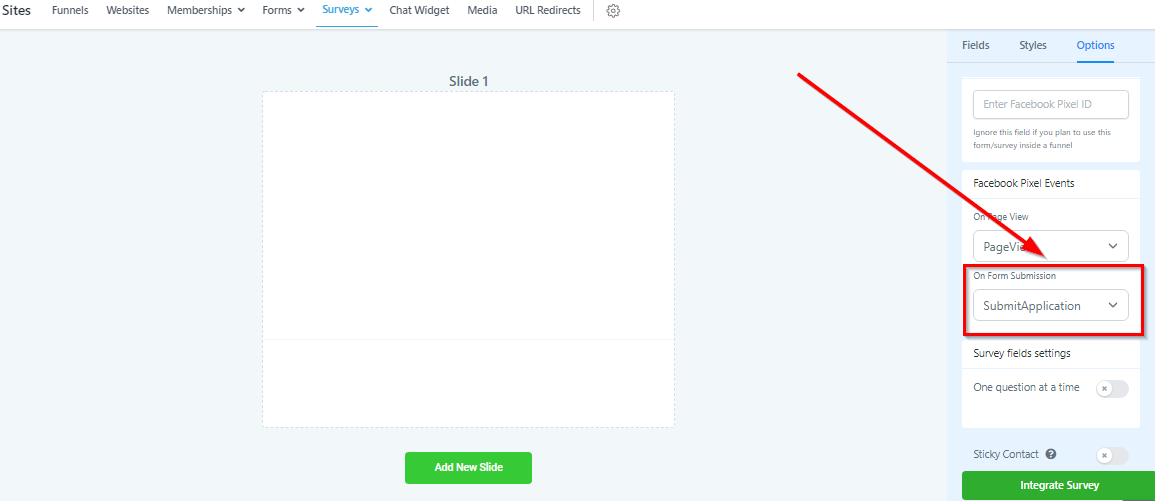
Choose what events will fire when a visitor submits your survey.
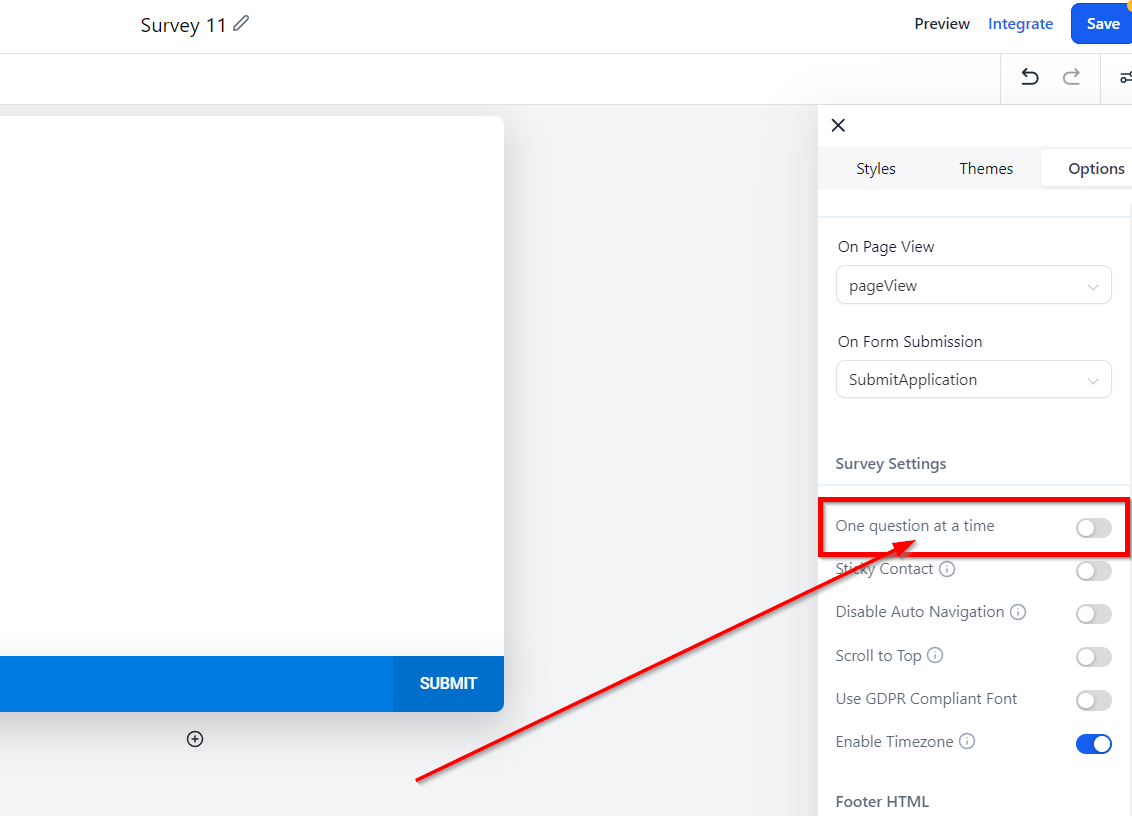
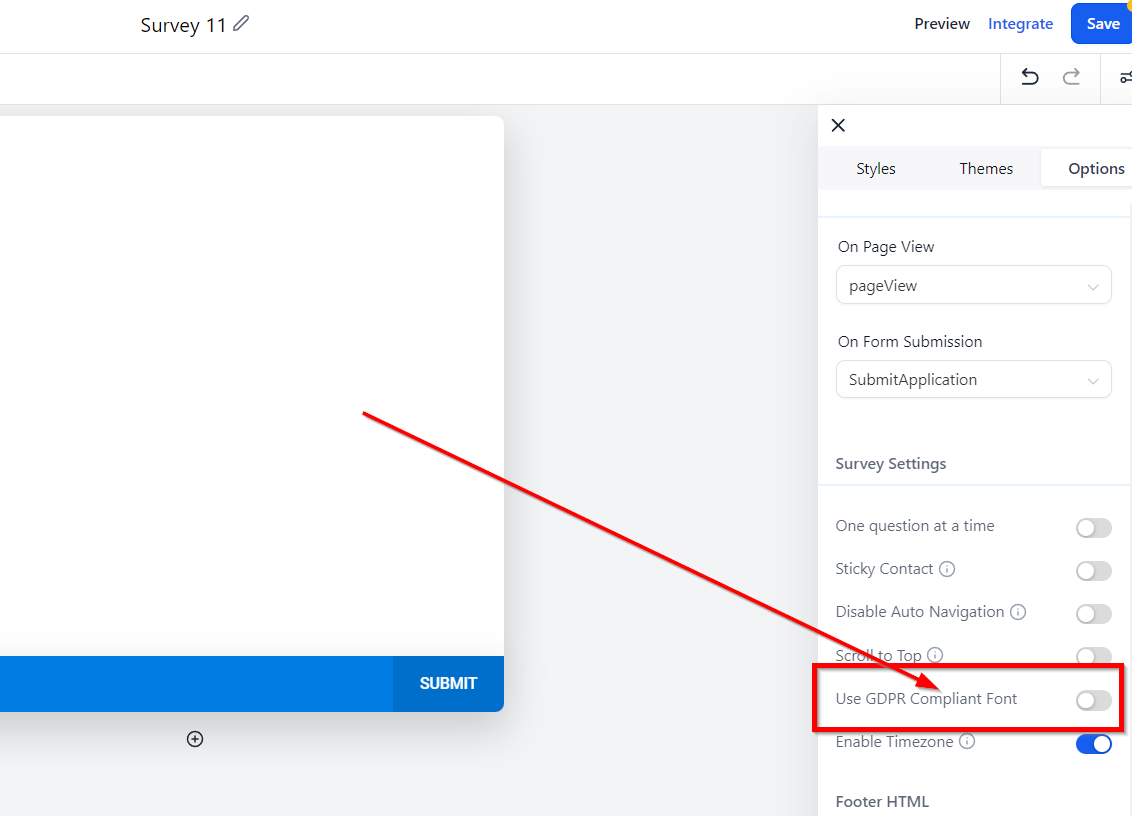
Toggling this setting "On" will make it so you only show 1 survey question to the visitor per slide. They will need to answer that question to see the next question.
Sticky contact will autofill your visitor's contact information that was previously entered so they do not need to enter it twice.

Disabling auto-navigation will make it hidden, so the visitor absolutely must select "Next" to see the next survey slide and question.
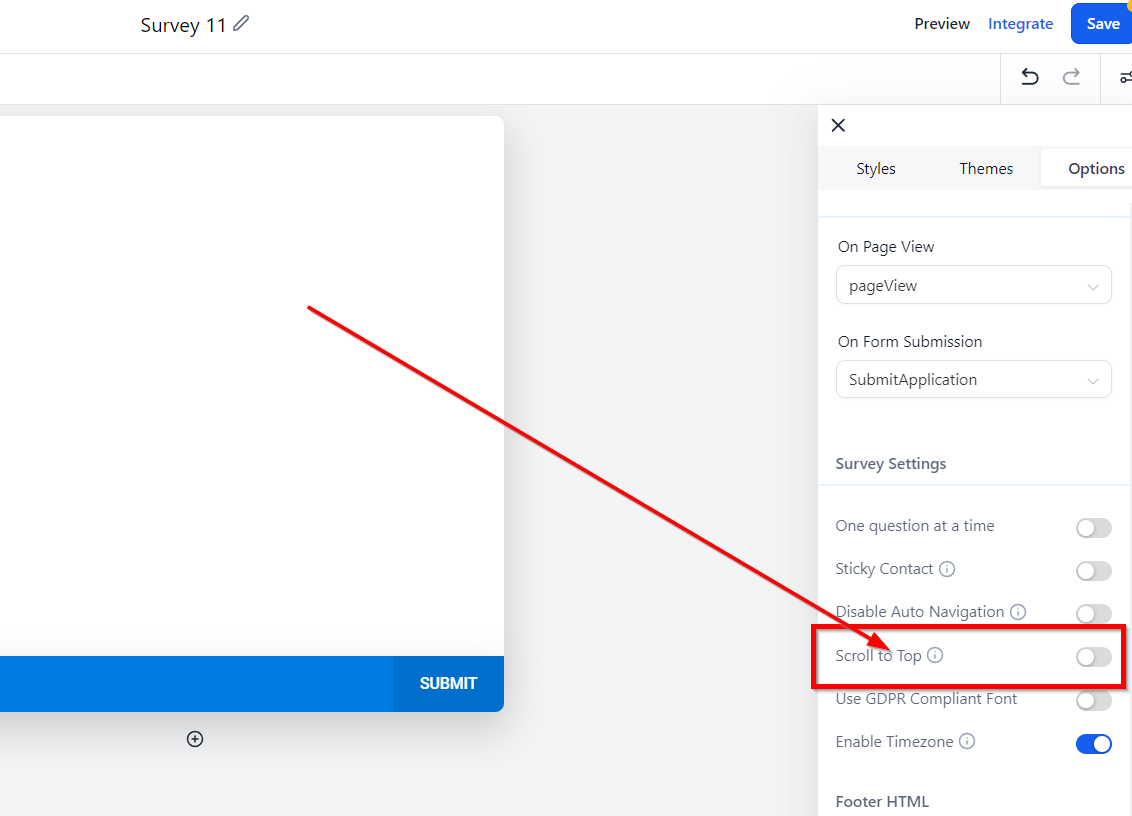
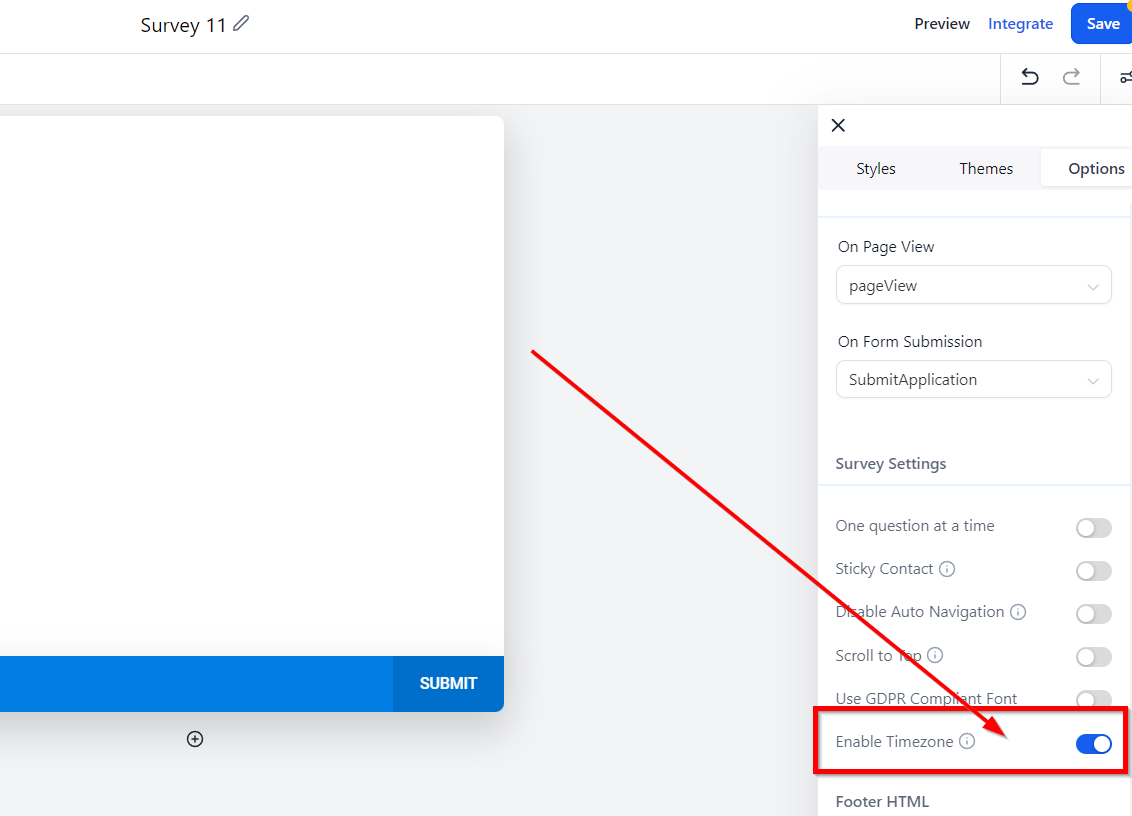
By keeping the toggle on, you can get the information of the Timezone of the individual submitting the survey.
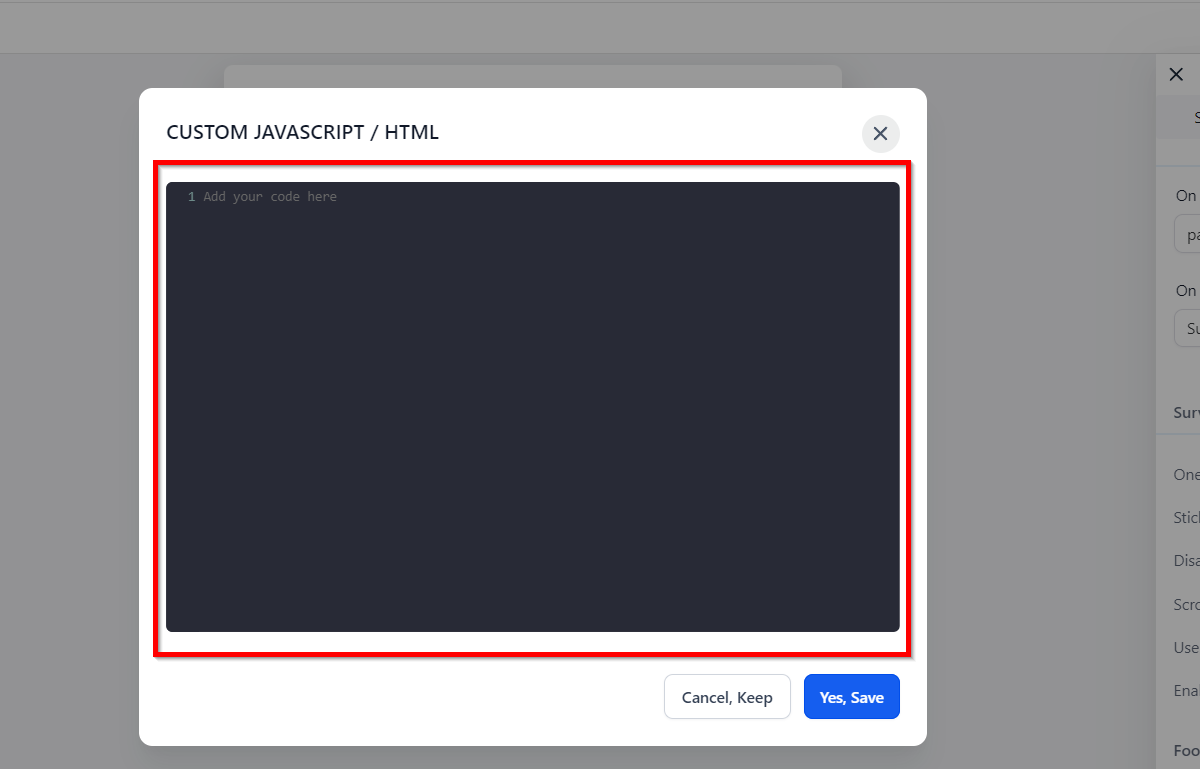
Let's take a look at the "Edit Footer HTML" section.
Click this button to continue…
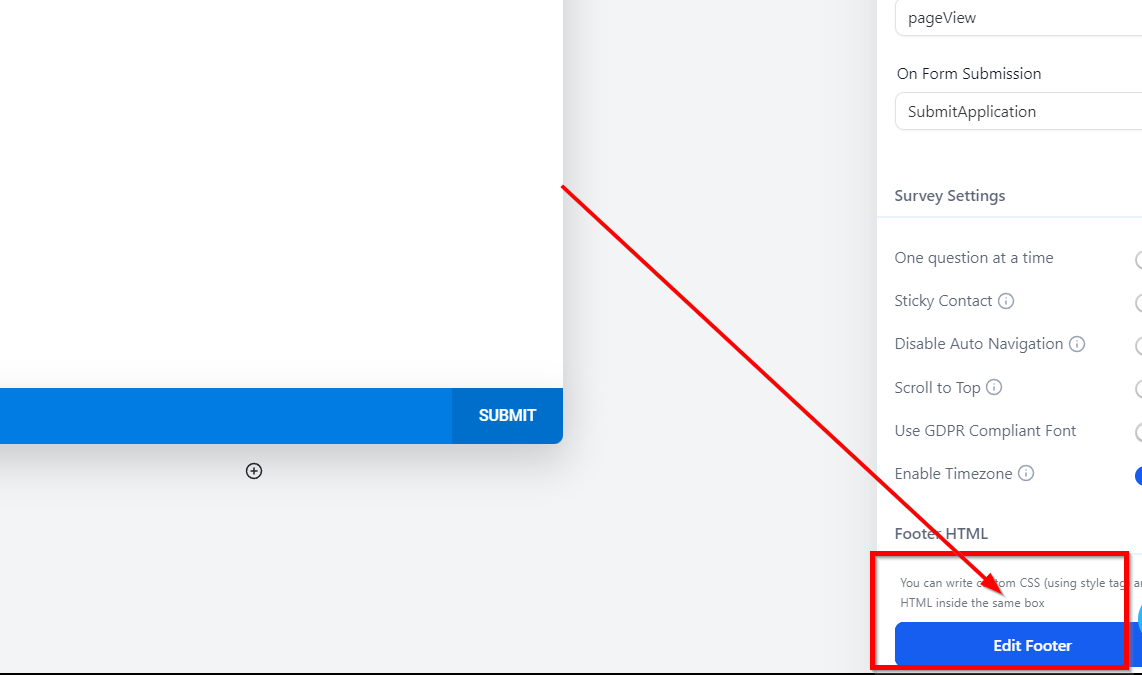
If you are looking to add custom HTML and CSS to your survey footer, you should add the code here.