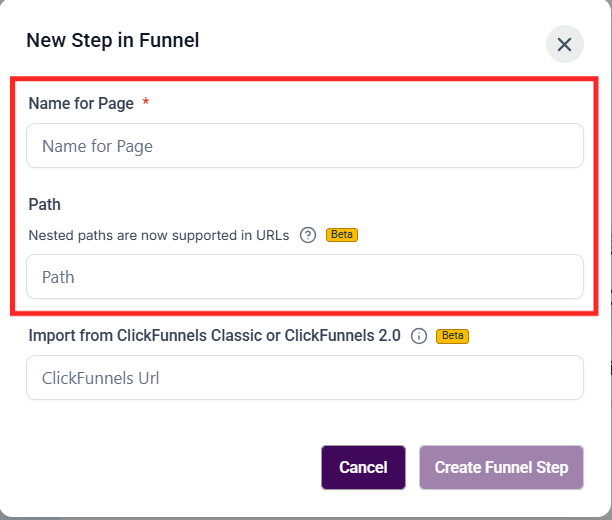
First, let's begin by establishing the foundation of our funnel - the Thank You page.

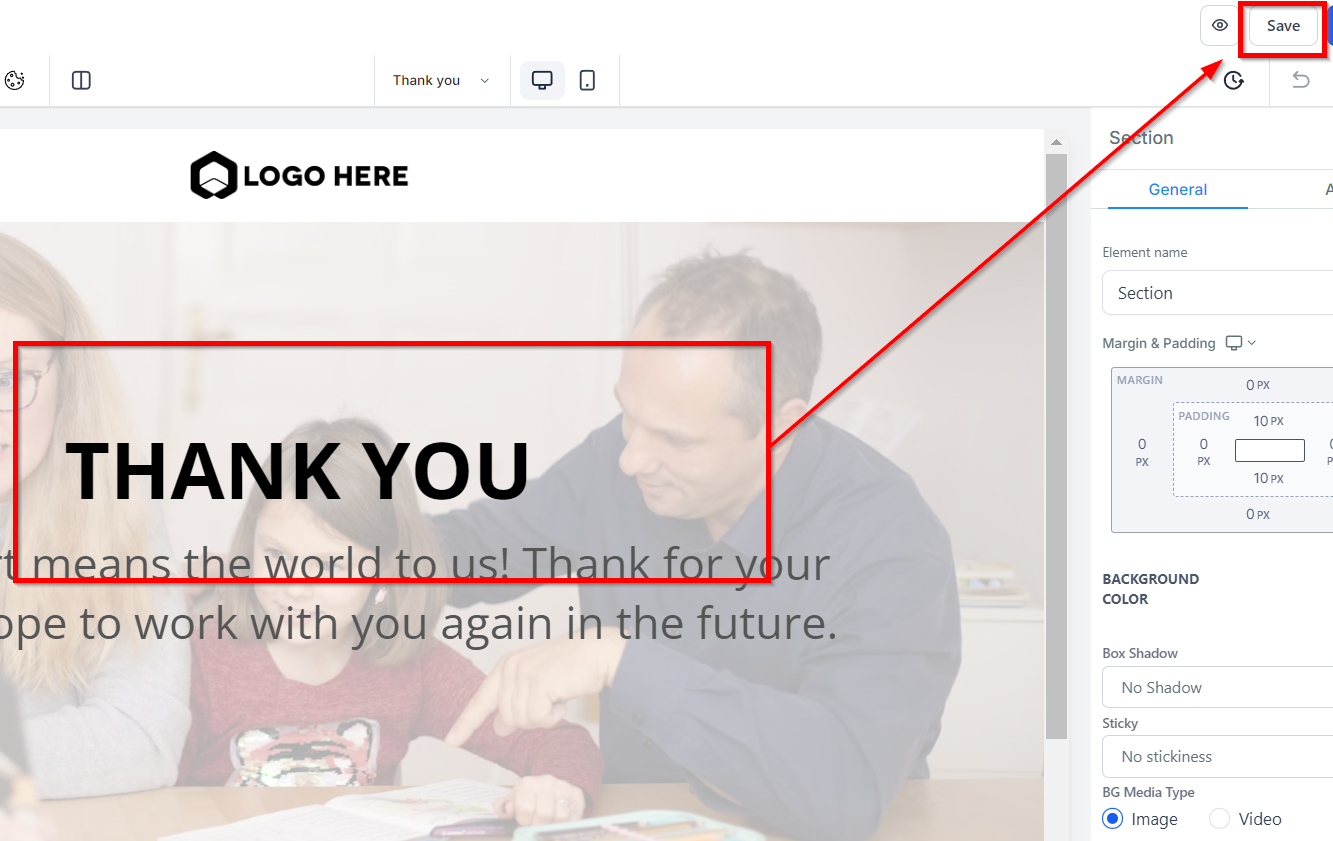
With the Thank You page set up, we can now proceed to configure the redirection based on the lead's actions.
There are three primary scenarios to consider for redirection:
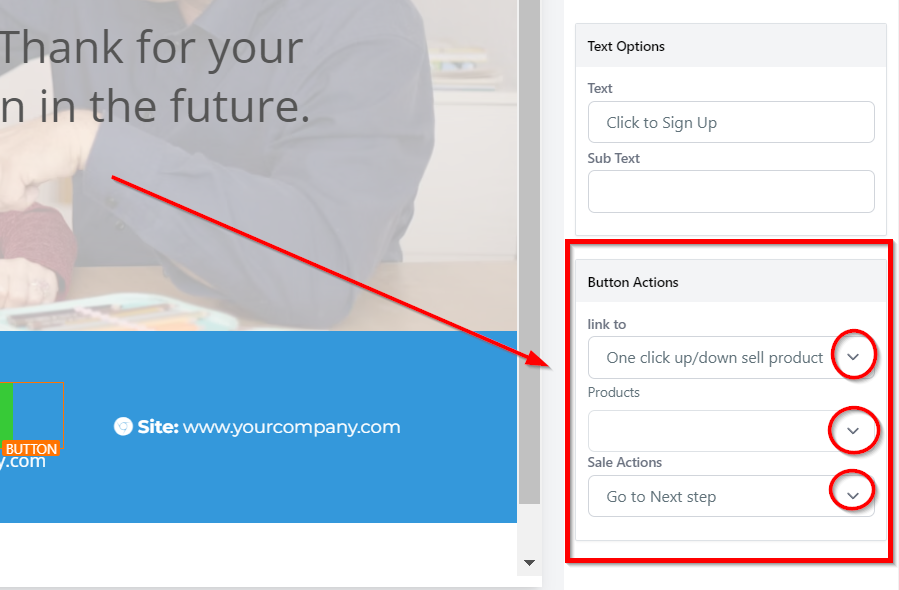
Direct Purchase and Redirection:
This scenario applies when a lead clicks a button to make a purchase and is immediately redirected to the Thank You page.
To set this up, select the button element and in the button actions, choose "One Click Up Downsell Product". Select the appropriate product and save. This ensures that upon clicking, the lead purchases the product and is redirected to the Thank You page.
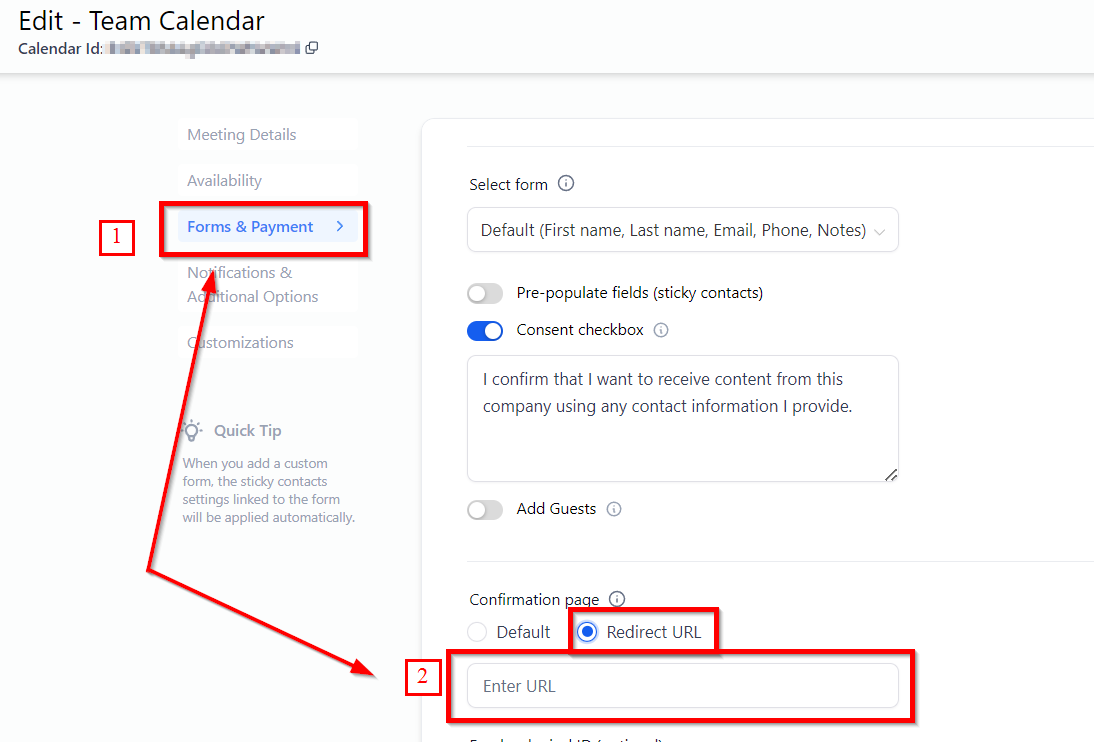
Booking a Consultation:
In this scenario, the lead clicks to book a consultation, chooses a time, and upon confirmation, is redirected to the Thank You page.
To achieve this, copy the URL of the Thank You page. Then, navigate to Settings > Calendars, select your consultation calendar, and edit it. Paste the Thank You page URL in the "Thank You redirect URL" field and save.
Not Interested Option:
If a lead selects the "Not Interested" option, they should also be redirected to the Thank You page.
Simply click on the "Not Interested" text, use the link option to insert the Thank You page URL, and save.
What if the URL for the Thank You page doesn't appear?
Ensure you have set up a domain for your funnel. Navigate to Settings and select a domain. If you haven't added a domain, you'll need to do so.
Can I customize the Thank You page further?
Absolutely. The CRM allows for extensive customization. Feel free to add more elements or personalized messages to enhance the user experience.
What should I do if the redirection isn't working as expected?
Double-check the URLs and ensure that the correct actions are selected for each button. If issues persist, reviewing the funnel settings or reaching out for support may be necessary.
