An email unsubscribe page is a landing page where subscribers are directed when they choose to opt out of receiving further emails from you. A well-designed unsubscribe page can help maintain a positive relationship with your subscribers, even as they leave your mailing list. This guide will walk you through the process of creating such a page within our platform and integrating it with your tools.
Go to the "Sites" section from the dashboard. Choose between creating a new funnel or editing an existing one.
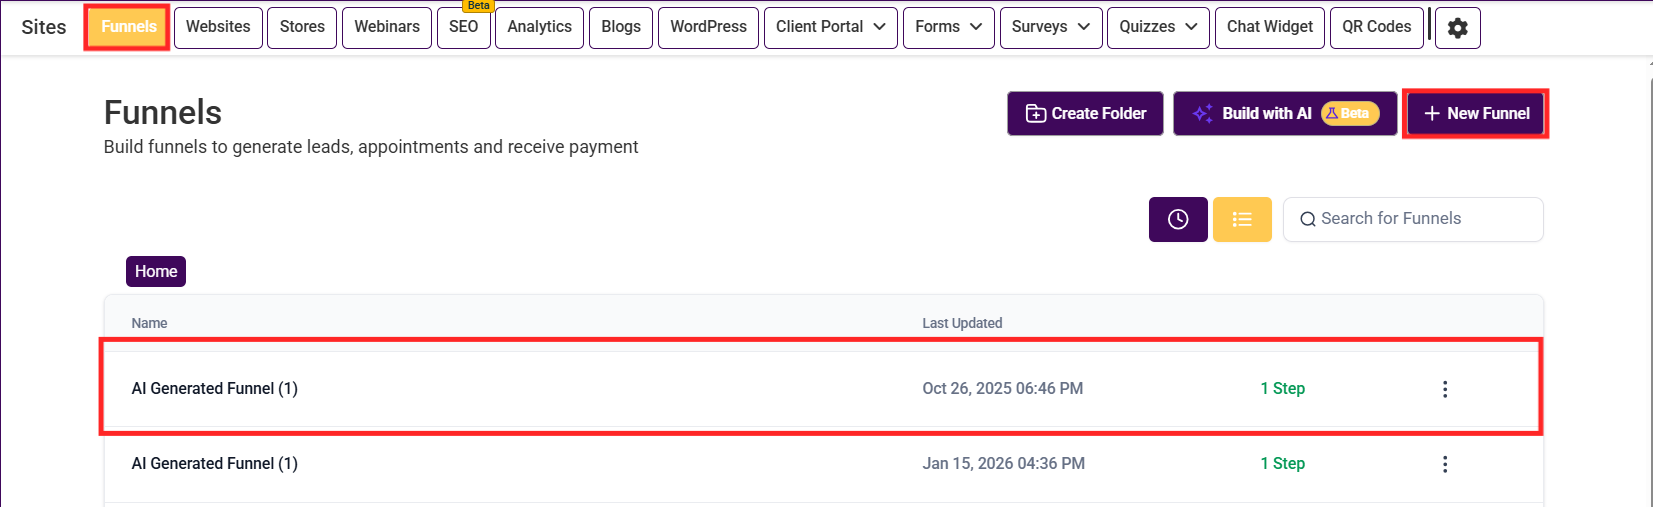
Add a new step, naming it appropriately, e.g., "Unsubscribe Page".

Start with a blank page for full customisation. Begin by adding sections, columns, and rows according to your design preferences.

Next, incorporate key elements such as a headline, sub-headline, and an image or GIF to effectively communicate the unsubscribe message. For instance, the headline might read "You Have Unsubscribed," followed by a sub-headline such as "You will no longer receive emails from us. We’re sorry to see you go."

Customize the page's appearance, including colours and images, to align with your brand. Once you are satisfied, save and publish the page.
Navigate to the "Marketing" tab and select the option to add a new trigger link in the Trigger Links section.

Assign an appropriate name for the trigger link, such as "Unsubscribe Link" and input the URL of your unsubscribe page. After saving, copy the link key to use in your email templates.

In the "Marketing" section, access your email templates.

Edit the template to include the unsubscribe link at the bottom, ensuring it is visible and accessible.

With your trigger link and template in place, you can now add automation to streamline the process. To do so, head to the "Automation" section and create a new workflow.

Set the trigger as "Trigger Link Clicked" and select your unsubscribe link from the dropdown.

Add an action to enable "Do Not Disturb" (DND) for all channels or specific channels, ensuring the subscriber won't receive further communications.

Now anyone who clicks on the trigger link here will be marked DND for the email channel! Add other relevant workflow actions, then save and publish the workflow to begin automating the unsubscribe process!
What if my unsubscribe page doesn't show up correctly?
Check the page URL and ensure it's correctly linked in the trigger link settings.
Can I customise the DND settings?
Yes, you can specify which channels to apply DND to, though it's recommended to enable it for all to comply with unsubscribe requests fully.
