Funnel personalisation involves customising digital content to align with your business objectives. This includes incorporating brand elements such as logos, colours, and custom values, among other features. By personalising your funnel pages, you can significantly improve the user experience, ensuring that your communications are more engaging, relevant, and aligned with your brand identity.
To get started with personalisation on your funnel pages, follow these simple steps:
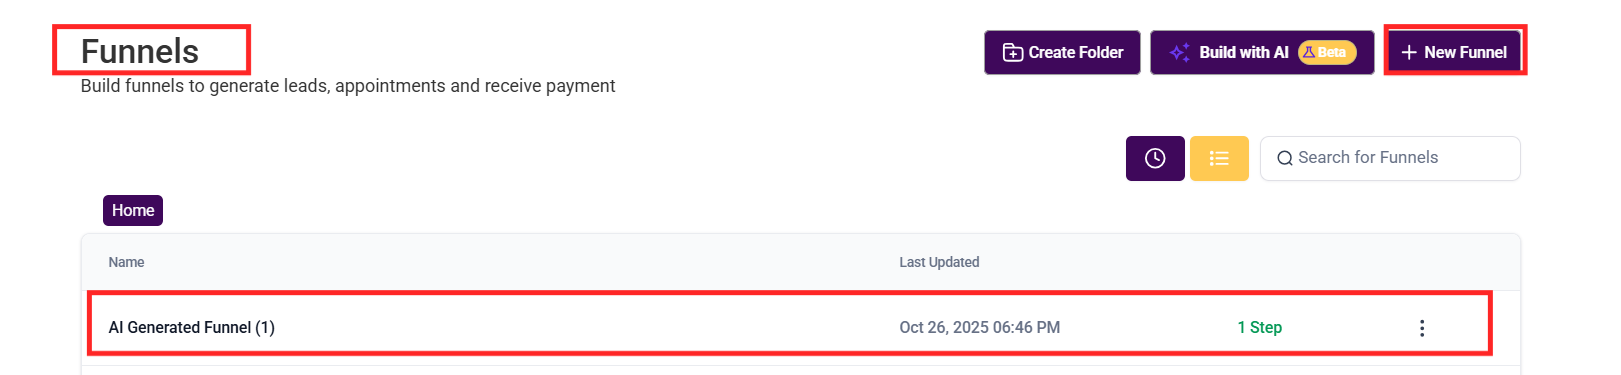
Navigate to the Funnels section in your account by clicking on the “Sites” menu on the left sidebar. Create a new funnel from scratch or using an existing template. If you already have a funnel you would like to personalise, open the funnel editor by clicking the name of the funnel.
Add a new funnel step, then include the sections, rows, and columns that align with your vision.
You can start by adding a navigation menu to facilitate seamless access to key sections of your site for visitors. Additionally, you have the option to incorporate your logo into the navigation menu by selecting the desired image from your media library.
Enhance your content by inserting a headline, sub-headline, and paragraph text to effectively communicate the services you offer. The headline should capture attention with a clear and concise statement that highlights the core message. The sub-headline can then provide additional context or detail, elaborating on the main message to encourage further exploration. Following these, the paragraph text should offer a more comprehensive explanation, outlining the benefits, features, or unique aspects of your services.

Double-click in a text box field to personalise it. A horizontal panel will appear with options to bold, underline, hyperlink, add "Custom Values", and perform other functions within the element.

Open the Custom Values panel to dynamically add special offerings, or the business name, email, or phone to the page.

Ensure that the text aligns with the overall style of your page by utilising your brand colours, to maintain consistency throughout.
 Note: Brand colours must first be added in the Marketing > Brand Boards section of your account.

You can now incorporate images, videos, and other media to showcase your company’s initiatives, highlight your product offerings, or simply display images that align with your brand's aesthetic. These multimedia elements help to create a more dynamic and engaging experience, making your content more visually appealing and informative.

Next, include the Social Icons element for visitors to learn about the various ways they can connect with you!

For even greater personalisation options, you can include Custom CSS. This allows you to fine-tune the design and styling of your funnels, providing complete control over the look and feel of your pages beyond the standard customisation features.

If you wish to apply this personalisation to multiple funnels, save your sections as templates or global sections. This allows for consistent customisation across different funnels, saving time and ensuring uniformity throughout your pages.

Explore the other elements to maximise your funnel personalisation, then click the save and publish buttons to retain your changes and apply the personalisation.
Personalising your funnel pages is an excellent strategy to enhance customer experience and elevate your business's presence. Continue experimenting with unique touches to discover what resonates best with your audience.
After implementing personalisation, always test the funnel by submitting a form or completing the action required to reach the personalised page.
If the personalisation does not display as expected, ensure that you have saved and published the page and the personalisation is set to be visible on the device it is being tested on.
