The Documents & Contracts Builder enables you to design templates for contracts, agreements, invoices, and other essential documents. Leverage this tool to create professional documents that align with your brand image and convey the necessary information.
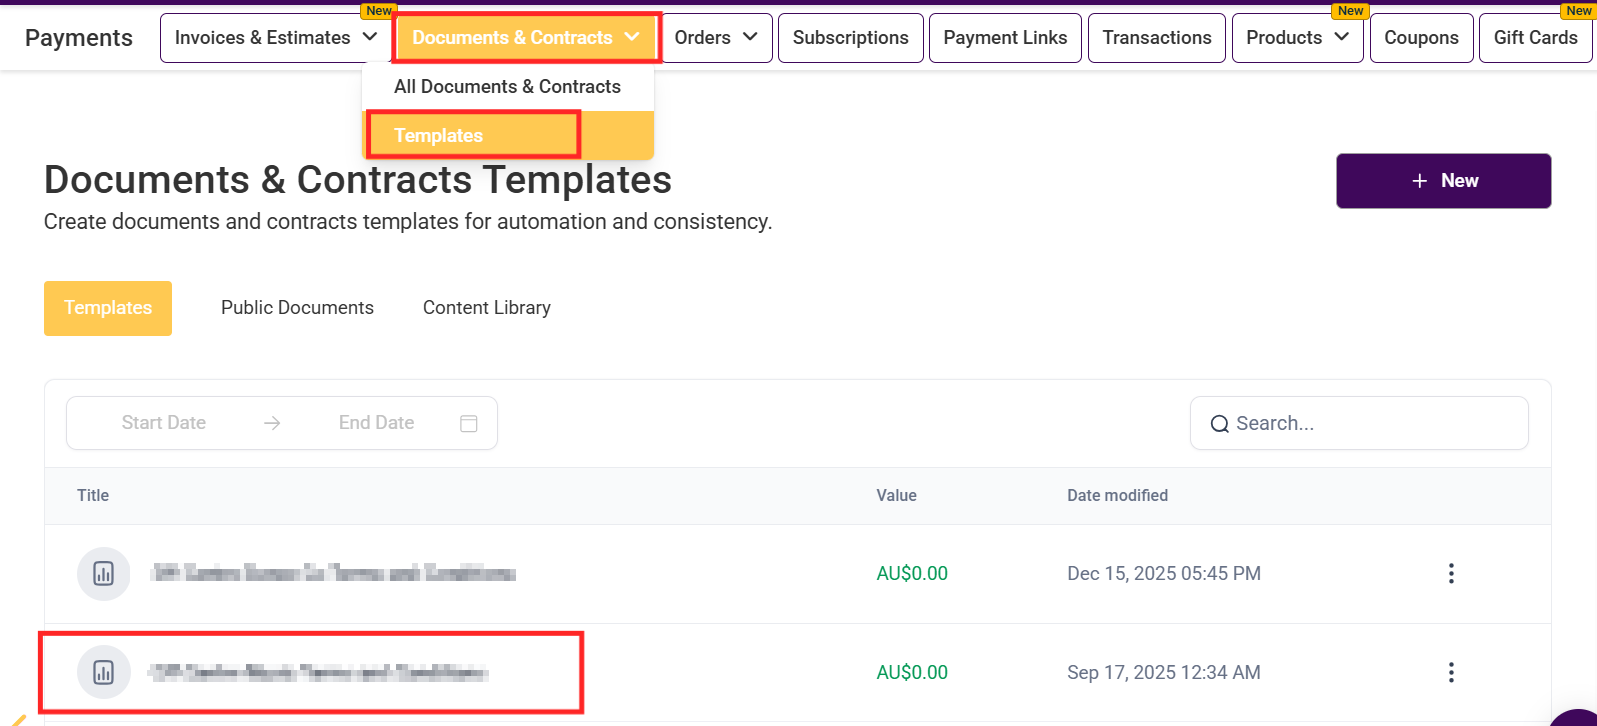
To access the Builder, navigate to the Documents & Contracts Templates section within your account. From there, you can create a new template or select an existing one to begin. Alternatively, select a drafted template in the All Documents & Contracts category. We will use an existing template in this guide.
Assign a name for your template within this field. This name can be updated at any point to accurately reflect the purpose of the document.

Incorporate text elements, diverse media, and interactive fields to enhance the functionality and versatility of your document.

Within the pages tab, use the drag-and-drop feature to seamlessly rearrange the pages of the document.

Select the "+" button to add a page before or after the current page.

Access and manage the variables linked to your document. Document variables serve as placeholders within the document, automatically replaced with actual values upon execution. These variables provide dynamic content control, making them essential for templating and automation processes.

This section allows you to manage payment and invoicing for your document. Choose whether you want to add a One Time or Recurring Invoice. Enable "Direct Payment" to collect payments immediately after signing, or toggle "Send Invoice" to email invoices upon signing; otherwise, they remain in drafts.

Within the Document Settings. Enable the “Override Email Configuration” option to customize the “From Name and Email.” Additionally, you can specify an Email Subject and select an Email Template to suit your needs.

Refine the appearance of your text elements by adjusting the font type, size, and various styling options. This allows you to tailor the text to align with your brand’s identity and enhance the overall aesthetic and readability of your content.

Control the positioning of text and other elements within your email. You can align content to the left, center, or right, depending on your design needs.

Add Line Height: Adjust the vertical spacing between lines of text to improve readability and layout within your document.
Disc List: Create a bulleted list using disc-shaped bullets to organize and present information.
Text Color: Change the color of selected text to match your design preferences or brand guidelines.
Format Selected: Apply specific formatting options to the highlighted text.
Custom Values: Incorporate custom values that can be dynamically replaced during document generation.

Undo: Revert the last change made to your document, allowing you to quickly correct mistakes or revert to a previous state.
Redo: Reapply the last change that was undone, restoring the document to the most recent version before the undo action.

Once satisfied, use this button to publish the document.

Click the “Use Template” button to convert the document into a draft template, which can then be distributed to the intended recipients.

Maintain your adjustments by clicking the Save button.

By utilizing this tool, you ensure that your documents are aligned with your brand’s image and convey the necessary information clearly and effectively.
