When you select a group of contacts from any of your smart lists to perform actions such as adding them to a workflow or sending an email or SMS, the CRM will create these as bulk actions. These actions can be easily monitored and managed in the Bulk Actions section within the Contacts tab of your CRM. If no bulk actions have been created, this page will remain blank.

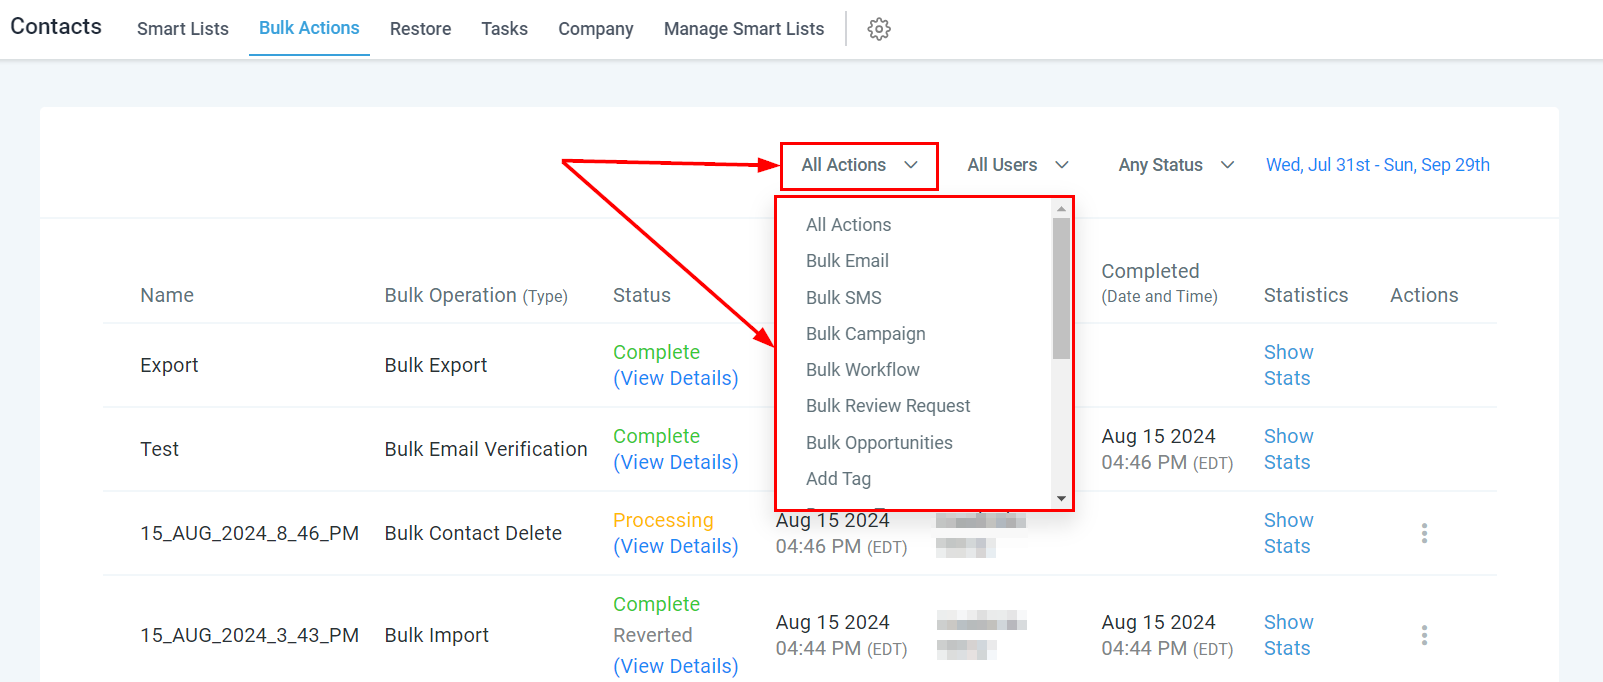
Organising your bulk actions is straightforward. Start by selecting the "All Actions" drop-down menu at the top of the table to filter by specific bulk action types. This allows you to quickly locate the desired action without manually searching through each row of data. Filtering options include email/SMS, workflows, opportunities, and tags.
To filter bulk actions by users, simply select the "User" dropdown and choose the appropriate team member for your search.

Filter by status by selecting the "All Status" dropdown, allowing you to cycle through bulk actions based on their delivery stages.

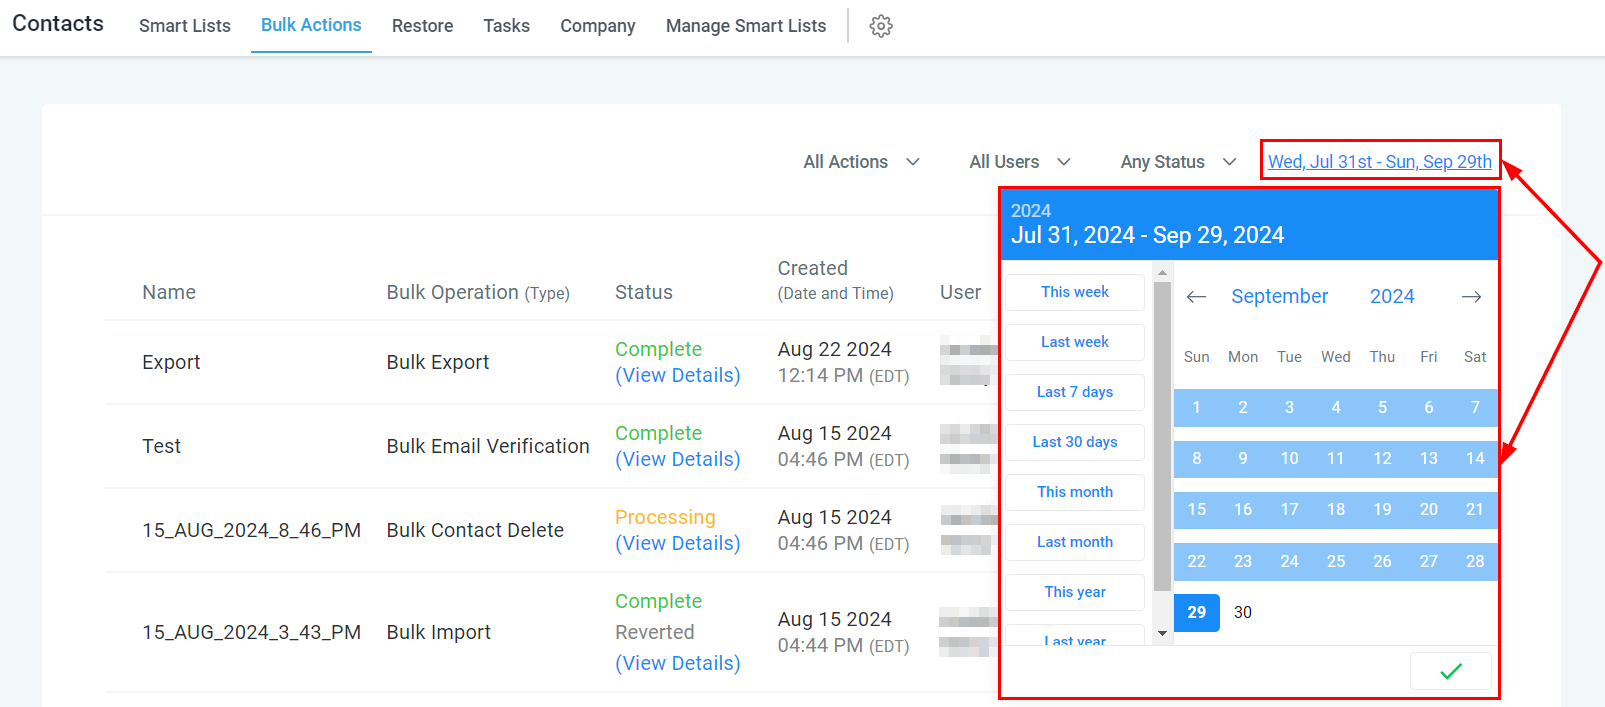
You can also filter bulk actions by specifying a date range. Select the desired date range to narrow down your results.
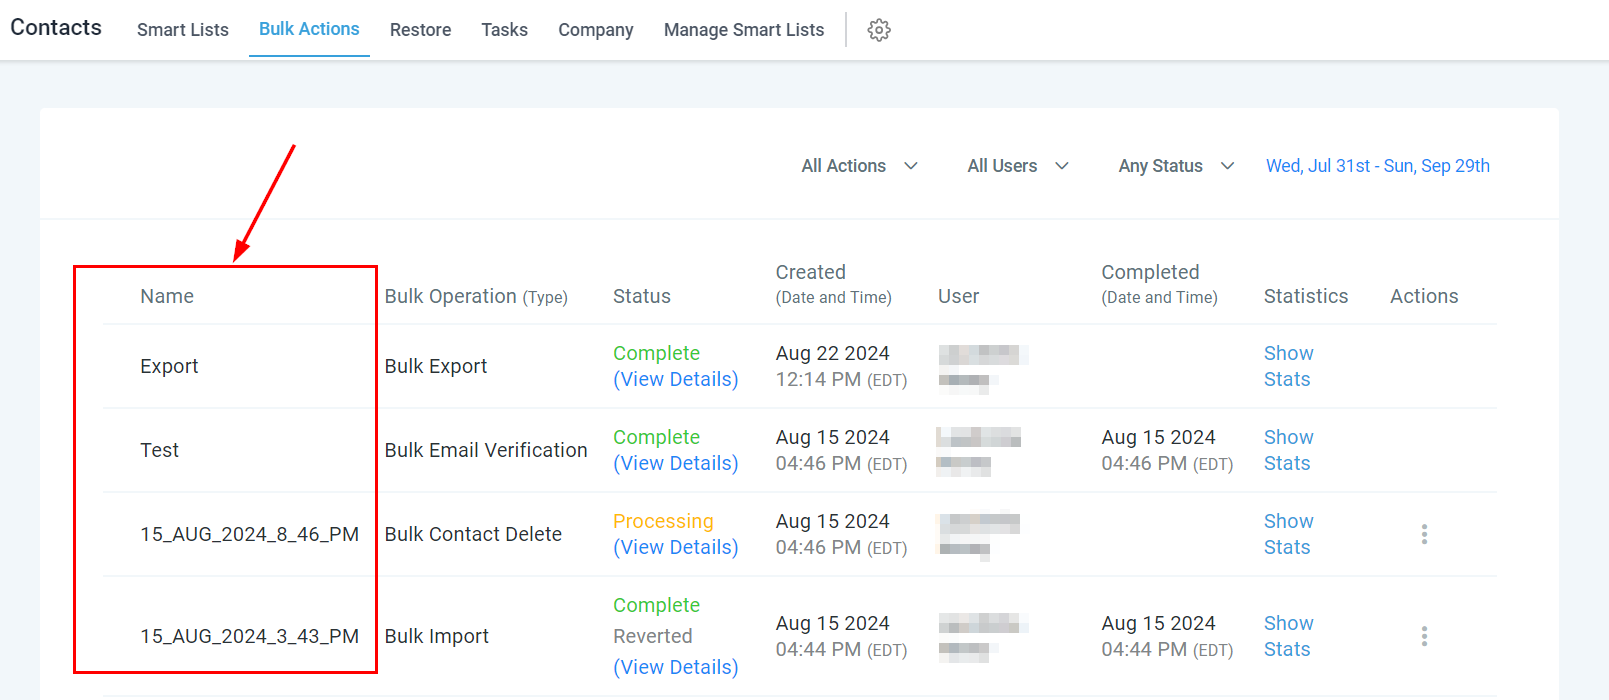
In the Bulk Action Table, you can manage and review the activities associated with each bulk action.
The name of the bulk action, established by the user who creates it, is displayed in this column.
This column indicates the type of bulk action performed, such as adding contacts to workflows or sending messages.

This column displays the status of your bulk actions, indicating whether they are in progress, completed, or canceled.

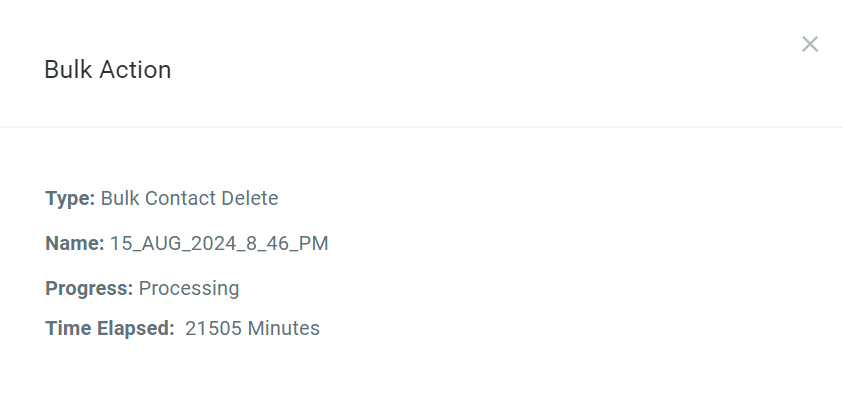
You can click the "View Details" button to see the Bulk Action Card, which includes:
Bulk action type
Bulk action name
Additional details such as the Scheduled start time, Mode, Elapsed Time, and Added tags.
This column shows the time and date when each bulk action was created.

The "User" column displays which team member scheduled the bulk action, useful for team management and tracking employee tasks.

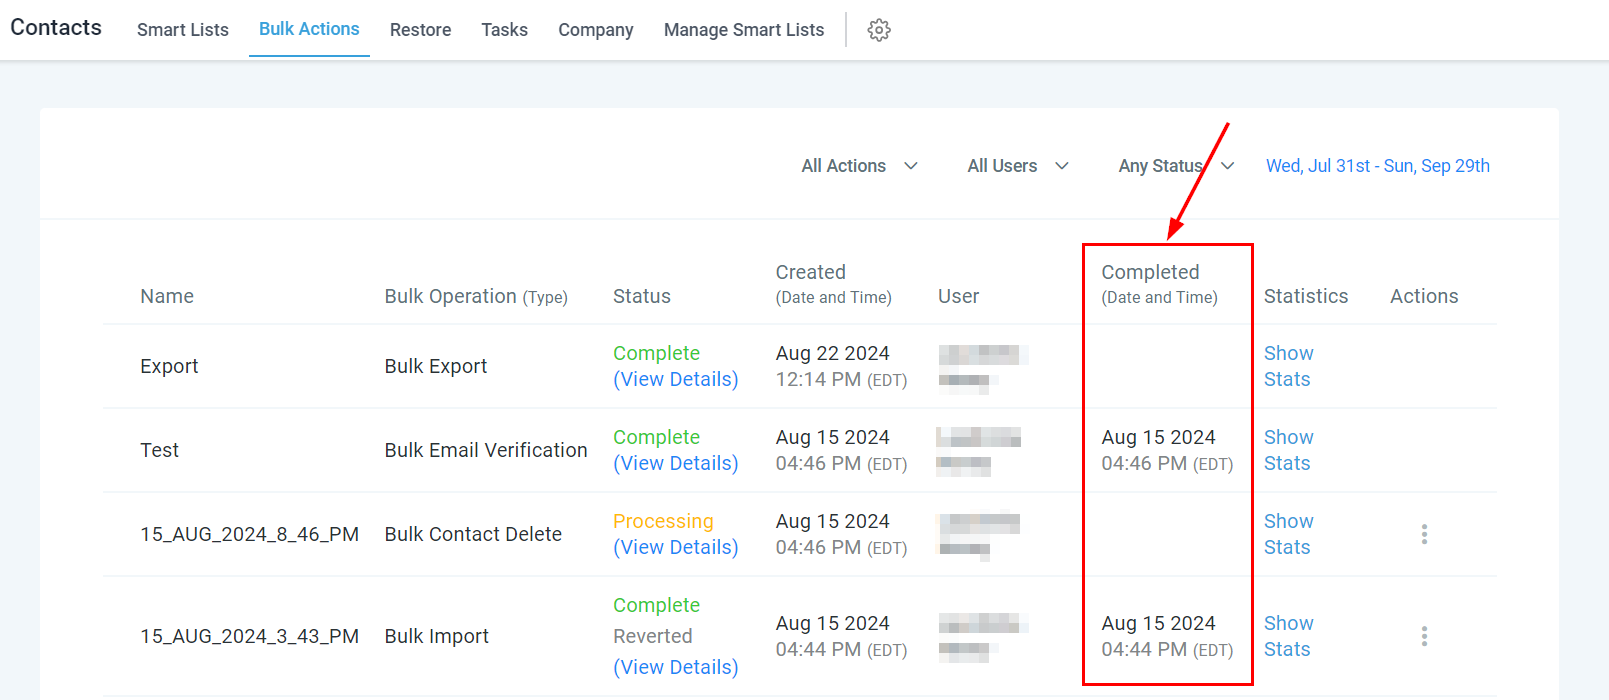
This column shows the date and time when your bulk action was completed.
By clicking the "Show Stats" button, you can view detailed data, and click on each data point to see the contacts that comprise categories such as "successful" or "error." Errors may occur for reasons such as sending emails to invalid addresses or texts to incorrect phone numbers.

Perform additional actions such as restoring deleted contacts, canceling a bulk action, or viewing the error log by clicking the three dots corresponding to the bulk action.

By utilising various filters and understanding the layout of the Bulk Action Table, you can efficiently monitor the status and performance of your bulk actions. Whether you're reviewing statistics or performing additional tasks, the tools at your disposal make it simple to manage your bulk operations effectively.
Q: How do I view the status of my bulk actions?
To view the status of a bulk action, navigate to Contacts > Bulk Actions > Click on the three dots in the tab to view the status or pause the action.
Q: What are the rate limits for bulk actions?
Add in drip mode:Frequencies of 30 sec - 1 min: 1,000 messages per minuteFrequencies of 5 min: 4,999 messages per minuteFrequencies of 6 min - 10 min: 5,000 messages per minuteFrequencies above 10 min: 10,000 messages per minute
Frequencies of 30 sec - 1 min: 1,000 messages per minute
Frequencies of 5 min: 4,999 messages per minute
Frequencies of 6 min - 10 min: 5,000 messages per minute
Frequencies above 10 min: 10,000 messages per minute
Add all at once & Add all at a scheduled time:Less than 10k contacts: 15k contacts per hourMore than 10k but less than 50k contacts: 6k contacts per hourMore than 50k but less than 70k contacts: 3k contacts per hourMore than 70k contacts: 1.5k contacts per hour
Less than 10k contacts: 15k contacts per hour
More than 10k but less than 50k contacts: 6k contacts per hour
More than 50k but less than 70k contacts: 3k contacts per hour
More than 70k contacts: 1.5k contacts per hour
Q: How far in advance can bulk actions be scheduled?
Bulk actions cannot be scheduled to run more than 720 hours (approximately 30 days) in the future.
